Halo: Campaign Evolved: All Terminals and Where To Find Them
 By Elsa Johansson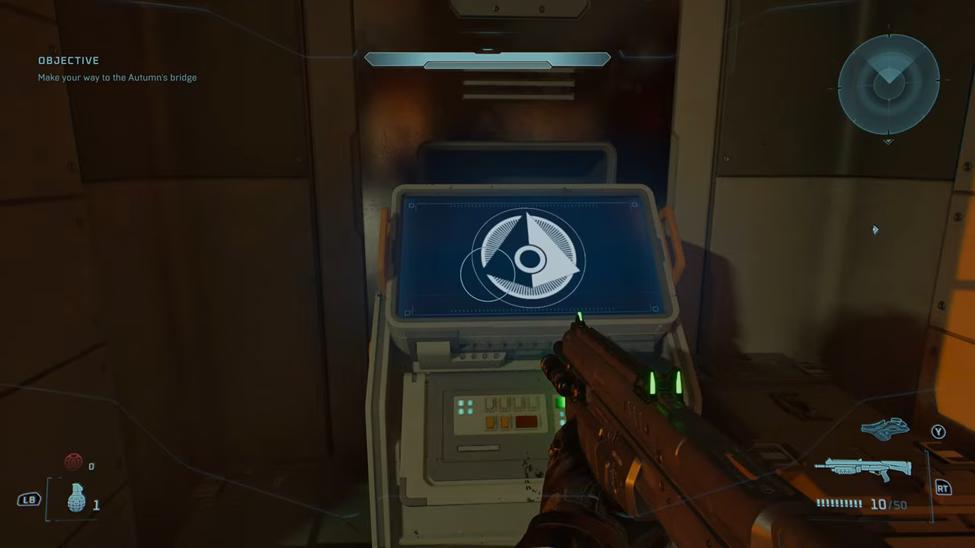
Terminals are hidden lore collectibles scattered throughout the campaign in Halo: Campaign Evolved. There are 13 Terminals in total, and each mission contains one hidden Terminal. 10 are available in the main campaign missions and 3 in the new bonus missions. Unlike Skulls, they do not change gameplay. If you somehow miss a Terminal, you can replay that mission and collect it later. Discover all terminals and where to find them in Halo: Campaign Evolved.
All Terminals and Where To Find Them
You can find 1x Terminal in each mission, meaning you’ll find exactly one per level. Once discovered, they remain unlocked and can be read anytime from the Collectibles menu. Unlike Skulls, Terminals do not increase difficulty or modify gameplay. A quick Halo: Campaign Evolved price tracker on PriceRadar shows which verified store currently offers the lowest Steam key offer.
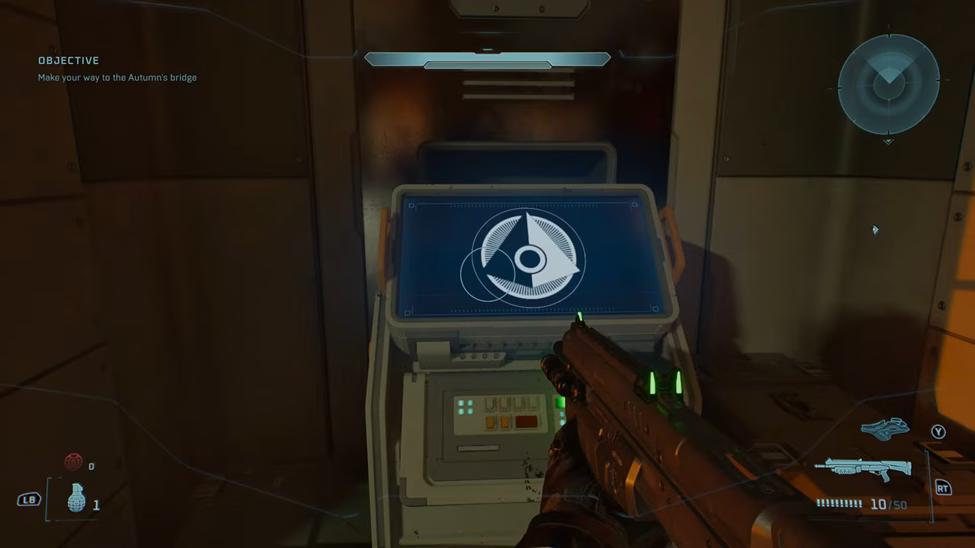
1. Boarding Action (The Path)
The Path Terminal is the Terminal collectible found in the Boarding Action mission in Halo: Campaign Evolved. Below are the steps to find this terminal during your playthrough.
- Make sure to progress through the mission until you reach a large room. This is a place where multiple Brutes descend from a grav lift while Elites spawn from side doors.
- Defeat every enemy in the room.
- After the fight, Sgt. Johnson comments on the lift and enters it.
- You must follow him and ride the grav lift to the upper level.
- Once you reach the top, don't follow the objective marker.
- Instead, turn around to see a door behind you. This is a back-right door, depending on your orientation after exiting the lift.
- Pass through it and follow the short hallway.
- The Path Terminal is inside this small room, so interact with it.
2. The Most Dangerous Game (Penitent Report)
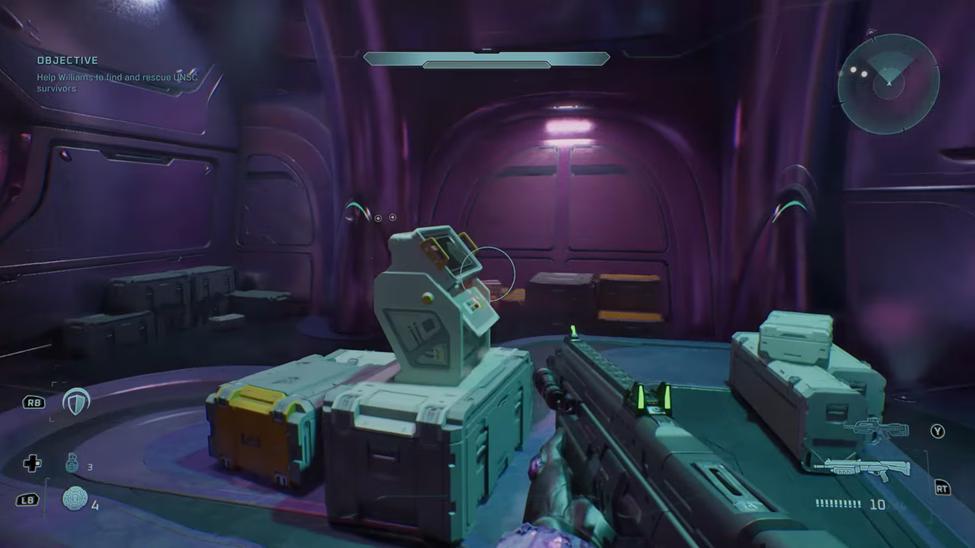
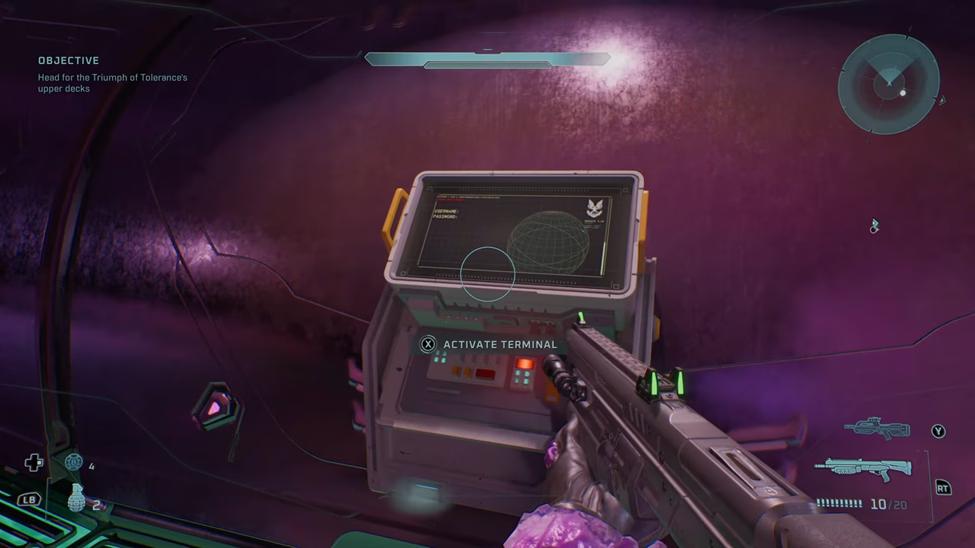
The Penitent Report Terminal is located during the bonus mission The Most Dangerous Game from Operation: Meteorite. You must rescue the imprisoned marines and look for pod-viewing windows.
- Progress through The Most Dangerous Game until you reach the Covenant prison section.
- Rescue the captured UNSC soldiers and continue following the main objective.
- After leaving the prison and passing the UNSC armory, follow the objective until you enter a room with a wide ramp leading upward.
- At the top of the ramp, you'll enter a room where large windows are on your left.
- You can see rows of Covenant pods through the glass.
- Instead of continuing forward, turn to the door on the right, opposite the windows.
- Now, make sure to pass through this doorway into a small side room.
- The Penitent Report Terminal is mounted on a platform inside the room.
3. Heavy Burden (Harmonious Clarity)
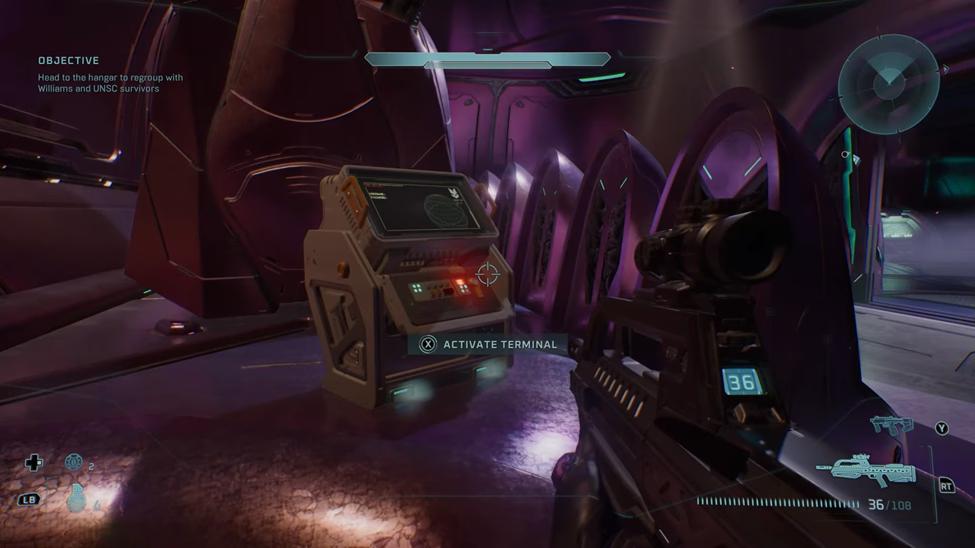
The Harmonious Clarity Terminal is located in the bonus mission Heavy Burden in Halo: Campaign Evolved. It is available on all difficulty levels and is not missable.
- Progress through Heavy Burden until you enter a large control room with a massive holographic planet display in the center.
- Defeat all enemies here to trigger a story cutscene.
- Once defeated, a cutscene plays involving Sgt. Johnson. After the cutscene, you'll return to the hologram room.
- Make sure to stay on the ground floor and find two unlocked doors at the back of the room.
- Go through the doors into an UNSC armory filled with weapons and ammunition. I recommend restocking before continuing.
- Proceed through the next set of doors leading deeper into the facility.
- Once in the final room, check the left-hand side to see the Harmonious Clarity Terminal tucked away near the wall.
4. Pillar of Autumn (Approach)
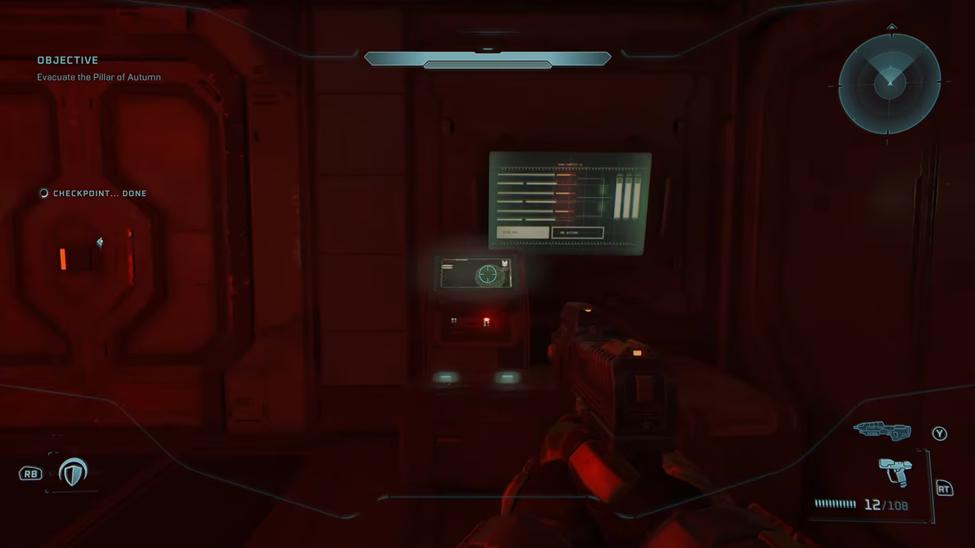
The Approach Terminal is the first Terminal in Halo: Campaign Evolved. This one is located in the opening mission, Pillar of Autumn, and can be collected on any difficulty.
- Progress through the opening of the mission as normal.
- Escape the Cryo Bay, defeat Covenant, and continue until you reach the damaged control section.
- Eventually, you'll enter an observation room overlooking the area where Master Chief's Cryo Pod was located.
- This room has a large broken window looking back toward the starting area.
- Instead of continuing toward the objective, leave the observation room through the opposite door.
- You'll enter another nearby office room filled with red emergency lighting.
- The Approach Terminal is available at the back of the red-lit room.
5. Halo (Forgotten)
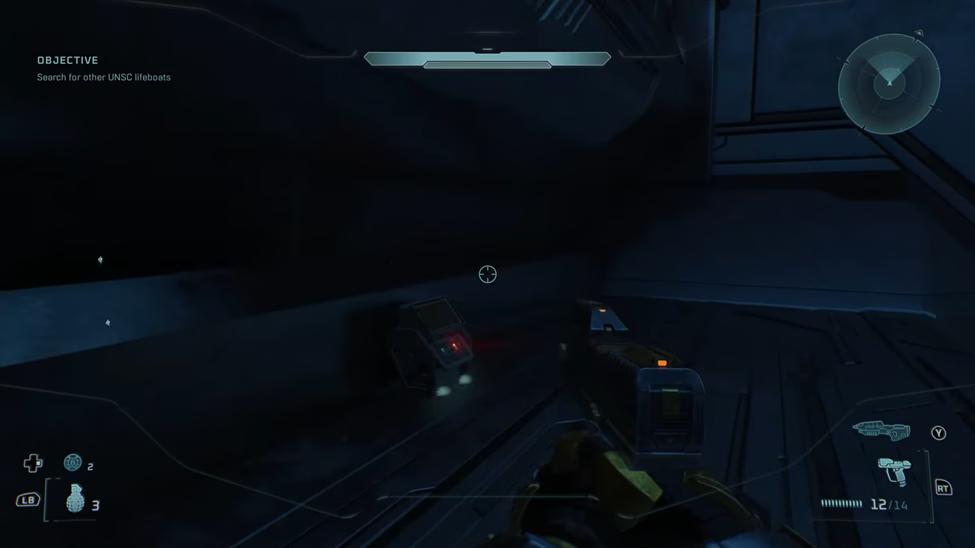
The Forgotten Terminal is the second Terminal in Halo: Campaign Evolved. It is found during the Halo mission, early in the level, inside the underground tunnel network.
- Continue following the mission until you enter the large underground Forerunner tunnel.
- Once deeper into the tunnel, you’ll find road bends multiple times.
- Look to the left-hand wall for a large broken window overlooking a lower chamber. This window is the key landmark. It's easy to drive past if you're focused on the objective marker.
- Stop your vehicle beside the broken window and get out.
- Jump through the opening into the chamber below. The drop is safe and places you on a narrow ledge overlooking the lower level.
- After landing, walk a short distance along the ledge to find Forgotten Terminal.
6. Truth and Reconciliation (Inquisitor)
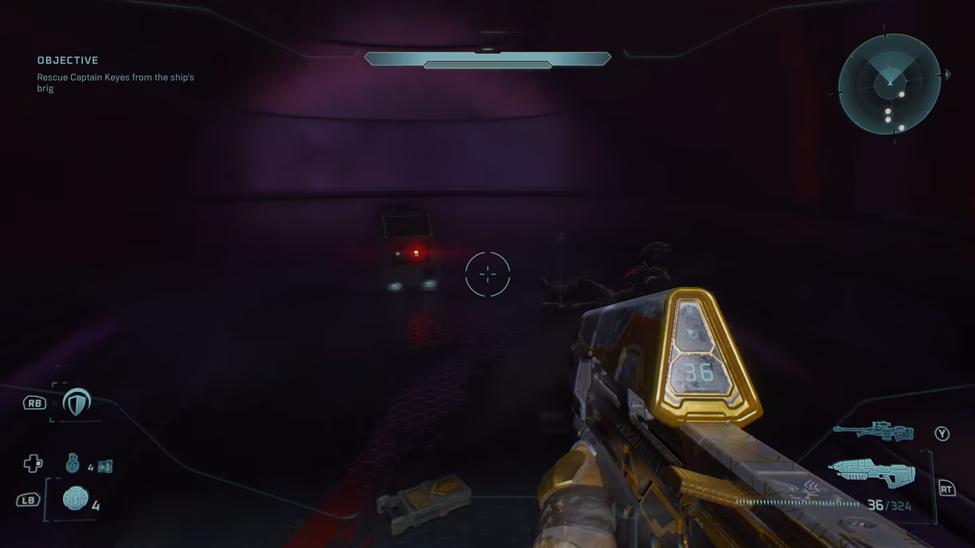
The Inquisitor Terminal is hidden during the Truth and Reconciliation mission aboard the Covenant cruiser. You can easily find it inside the prison section where Captain Keyes is being held.
- Progress through Truth and Reconciliation until you ride the gravity lift onto the Covenant ship.
- Keep fighting until the objective changes to rescue Captain Keyes.
- Continue through the interior until you arrive at the detention area. You recognize it as a central room with four doorways leading to prison cell blocks.
- From the entrance to the brig hub, turn right and go through the door on the right side into the prison cell corridor.
- You must follow the hallway until you reach the room containing the prison cells.
- Inside the cell block, find the control console on the left side of the room.
- Interact with it to disable the energy shields protecting the prison cells.
- After the barriers are lowered, walk to the back row of cells and look for the cell containing a dead marine.
- The Inquisitor Terminal is mounted on the back wall of that cell.
7. The Silent Cartographer (Status Update)
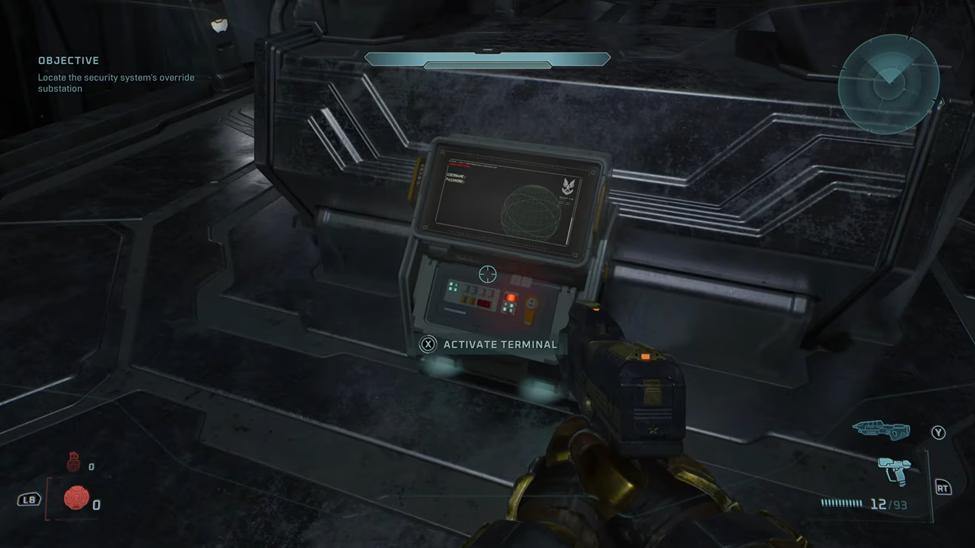
The Status Update Terminal is found during The Silent Cartographer mission, inside the underground Forerunner facility. This is a place where you restore power and unlock the main entrance.
- Progress until the locked facility door.
- Enter the override substation.
- Find the override console.
- Walk to the rear of the room.
- Behind a short metal wall, find the Status Update Terminal tucked away in a small corner.
8. Assault on the Control Room (Tangent I)
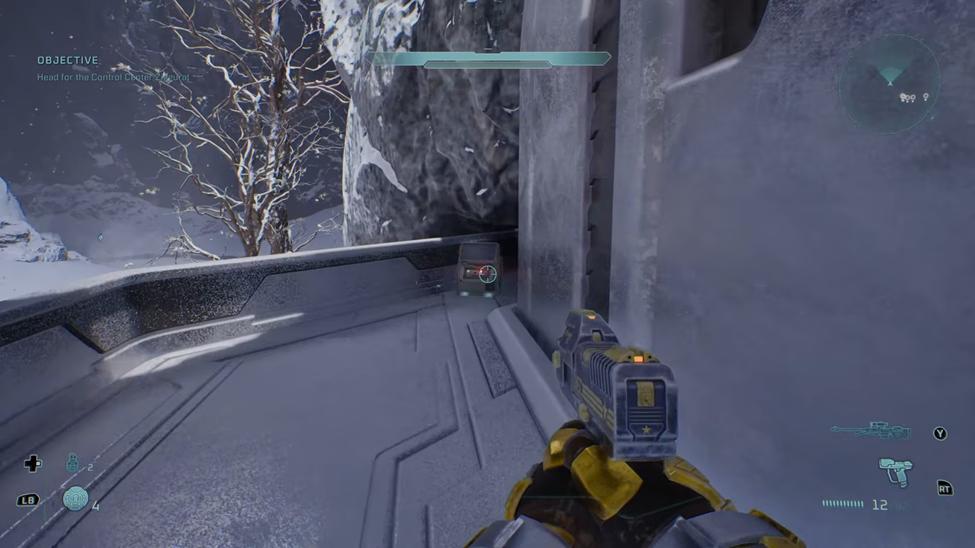
The Tangent I Terminal is located during the Assault on the Control Room mission and can be collected on any difficulty.
- Continue through Assault on the Control Room until you acquire the Scorpion Tank.
- Open multiple security gates and defeat enemies as you progress.
- Eventually, you'll drive through a long ice tunnel. Find a path to exit the long ice tunnel.
- Before moving up the sloped rock, look to the left side of the clearing. You'll see a door built into the rock face, leading into the Forerunner structure.
- Defeat any nearby Covenant to make entering safer.
- Enter the structure, follow the interior corridor, and walk up the long ramp to the upper level.
- After reaching the top, turn right instead of moving straight.
- Follow the upper walkway to its end, and Tangent I Terminal is waiting in the corner of the balcony.
9. 343 Guilty Spark (Tangent II)
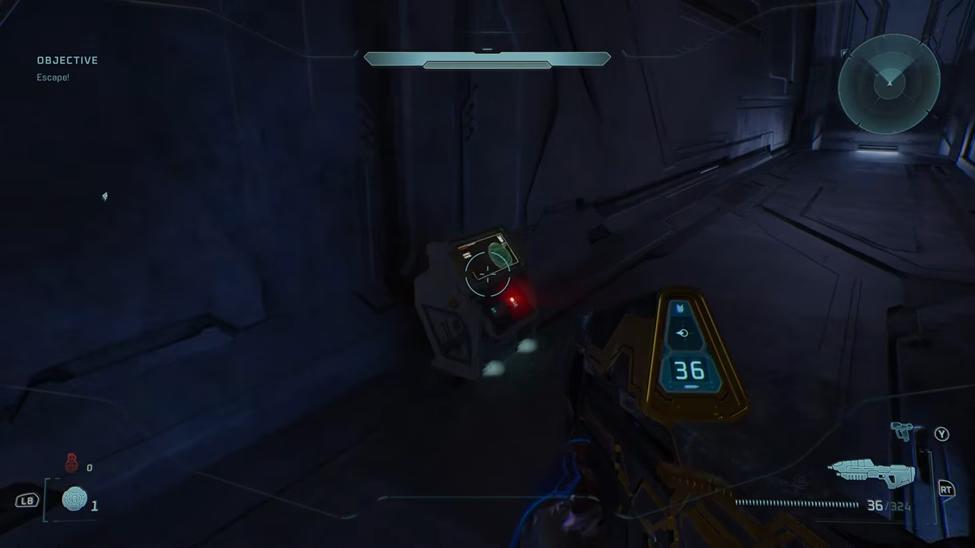
The Tangent II Terminal is hidden during the 343 Guilty Spark mission, after your first encounters with the Flood inside the swamp facility.
- Follow the Marine squad into the swamp and eventually enter the abandoned Forerunner facility.
- After the initial Flood encounter, continue following the mission route.
- You'll eventually reach a blood-covered doorway, a memorable landmark.
- Go through the doorway surrounded by blood. Once inside, look to your left to see a corridor filled with dead Marines and dropped shotguns.
- Don't stop in the first hallway. Instead, keep moving straight ahead and turn right when you reach the next opening.
- Follow the path until you can move behind the large pillar in the room.
- You'll find the Tangent II Terminal behind the central wall, hidden in the darker corner of the room.
10. The Library (Tangent III)
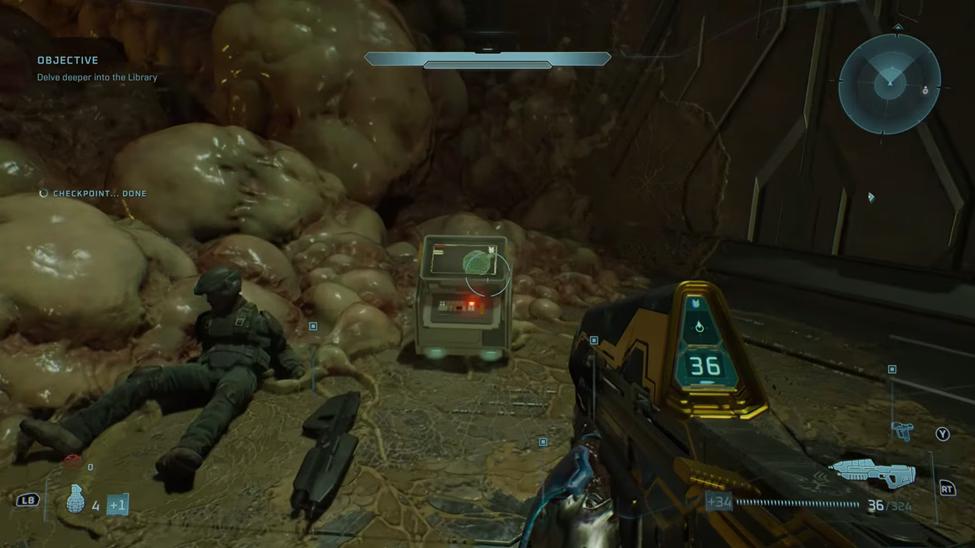
The Tangent III Terminal is located in The Library, one of the game's Flood-heavy missions. The objective is to use the left console and destroy the floor growth.
- Progress through The Library until you ride the first elevator.
- After it stops, you'll need to survive several waves of Flood. This is the time when 343 Guilty Spark unlocks the large door ahead.
- Once the large door opens, continue into the next circular central chamber.
- Inside you'll notice two control consoles; one on the left and one on the right.
- Interact with the left-hand console to open a side door on the left side of the room.
- Head toward the newly opened doorway to find the entrance blocked by Flood biomass.
- Shoot or melee the Flood growth until the passage is clear.
- Walk through the opening into the hidden side room to find the Tangent III Terminal.
11. Two Betrayals (Alone)
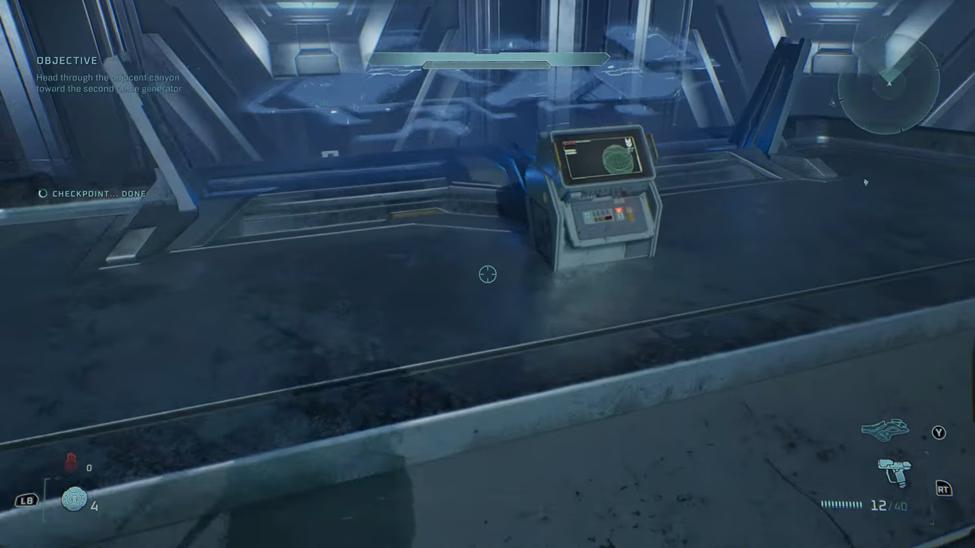
The Alone Terminal is located at the very beginning of the Two Betrayals mission. No Skull, special weapon, or equipment is required.
- When the mission begins, you'll be inside the Control Room.
- Defeat Sentinel drones before exploring the room.
- Once the Sentinels are destroyed, turn around and face the large holographic planet display in the center of the room.
- A circular walkway surrounds the hologram. Follow the walkway all the way around to the opposite side of the holographic display.
- You'll find the Alone Terminal waiting against the wall at the back side of the holographic planet display.
12. Keyes (Consumed)
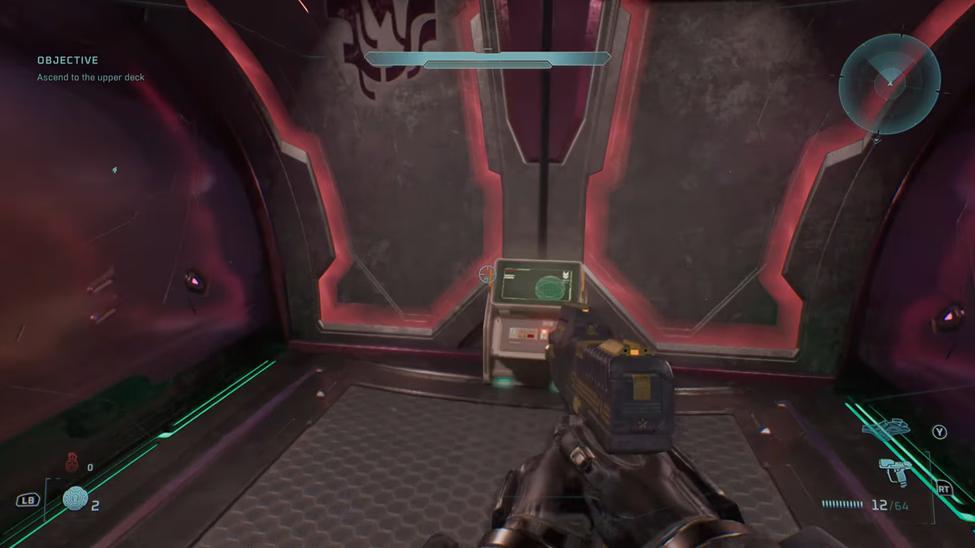
The Consumed Terminal is located during the Keyes mission aboard the Covenant cruiser. You can find it shortly before the Proto-Gravemind encounter.
- Progress through the Keyes mission until you re-enter the Covenant ship.
- Continue fighting through Flood and Covenant-controlled corridors until you reach the large shuttle bay.
- When you enter the shuttle bay, do not go to the upper deck yet. Instead, remain on the lowest level of the bay.
- Look to your left and go through the open side doorway. This will lead you directly into a narrow corridor.
- After that, turn left and take the next immediate left.
- Defeat both Hunters before reaching the terminal. After they're defeated, enter the room they came from.
- The Consumed Terminal is resting against a sealed door at the end of the corridor room.
13. The Maw (Arrival)
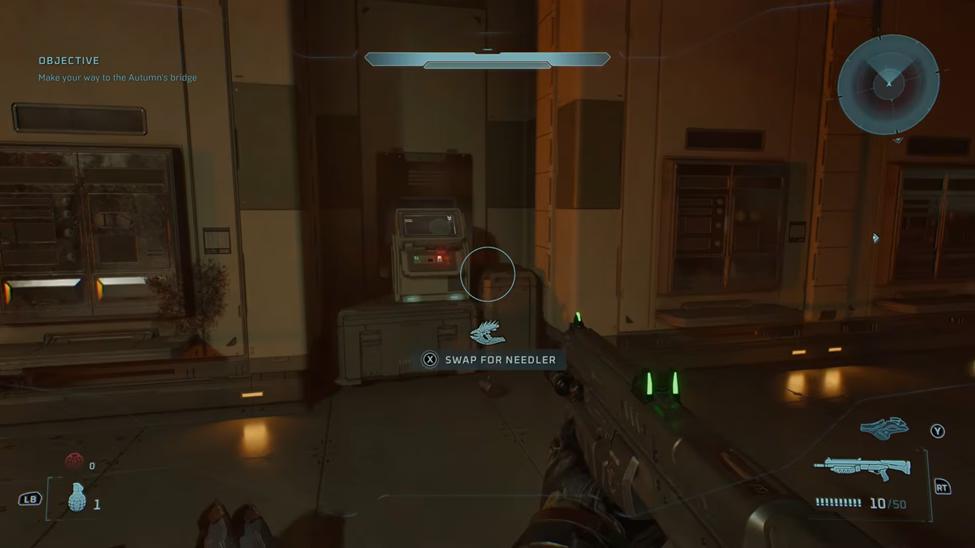
The Arrival Terminal is hidden inside the Pillar of Autumn's cafeteria during The Maw, the final campaign mission. Start from Rally Point Alpha and follow the main objective until you enter the cafeteria.
- Start The Maw and follow the mission objectives through the Pillar of Autumn.
- Continue progressing through Flood-infested corridors and continue toward the ship's bridge.
- As you progress through the opening section, you'll eventually enter the cafeteria.
- Once inside, avoid the objective marker for a moment. Move toward the middle-right side.
- The Arrival Terminal is tucked away between two damaged wall-mounted vending machines along the cafeteria wall.
- After activation, the Terminal's indicator changes from red to green.
Conclusion
Terminals are hidden collectible lore objects scattered throughout the campaign in Halo: Campaign Evolved. You can replay that mission and collect it later if you miss a Terminal during your first playthrough. There is no difficulty requirement, and once collected, the Terminal stays unlocked across your save. Interacting with terminals helps complete the game's Collectibles archive and rewards exploration. Finding them all unlocks Lore Have Mercy and Collector's Addition trophies. Compare the current Halo: Campaign Evolved price history on PriceRadar first – verified key stores regularly list it well below the $49.99 official price.
Games Mentioned

Related Articles
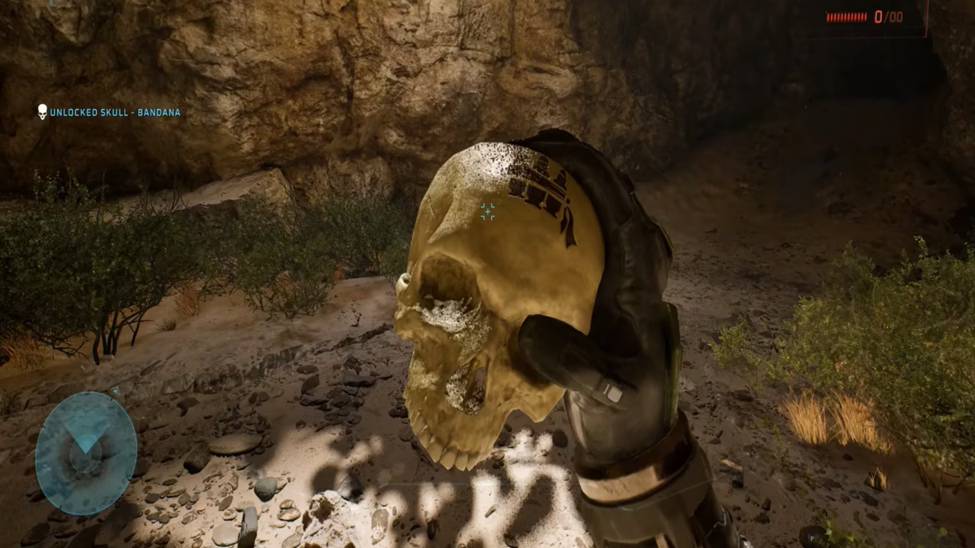
Halo: Campaign Evolved: All Skulls and Their Locations
guides
Halo: Campaign Evolved Game Review: Should You Buy It Now
guides
Dark Souls II vs Dark Souls III: What Changed Between the Two Games?
guides
Dark Souls III vs Lies of P: What Makes Their Boss Fights Different?
guides