Halo: Campaign Evolved: All Skulls and Their Locations
 By Maja Gustafsson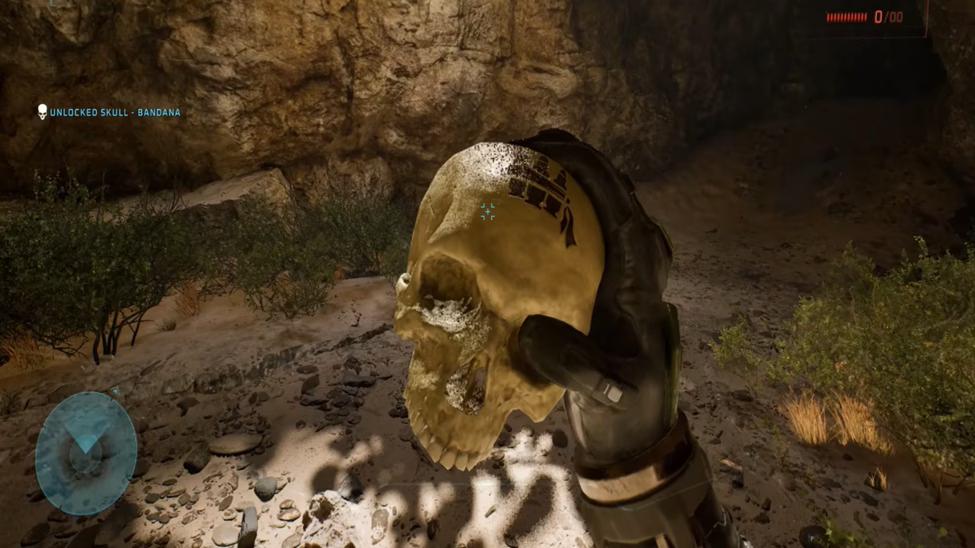
Skulls are hidden collectibles that unlock optional gameplay modifiers in Halo: Campaign Evolved. Once you find a Skull, it is permanently added to your collection. After that, it can be enabled before starting a mission. Unlike weapons, Skulls don't affect your current mission when you pick them up. However, they unlock modifiers that you can toggle on or off from the Skulls menu before loading into a mission. These modifiers can increase enemy difficulty, change your abilities, and modify weapon behavior. There are 39 hidden Skulls scattered throughout the campaign. But 3 bonus Skulls unlock automatically after you've collected enough hidden Skulls. Every campaign mission contains 3 hidden Skulls. Let’s find out all the Skulls and their locations in Halo: Campaign Evolved.
All Skull Locations
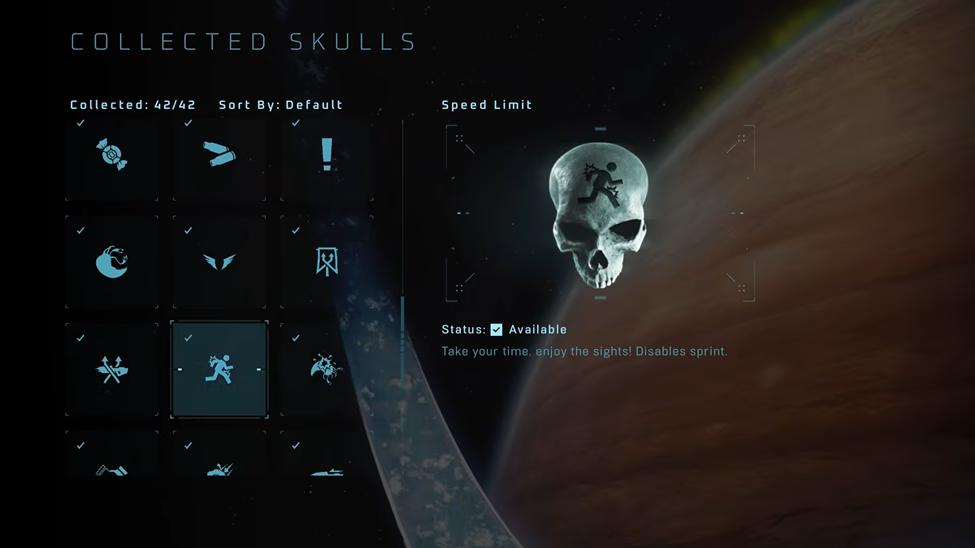
You can find 3 skulls while completing each mission in Halo: Campaign Evolved. When you find a Skull, walk up to it and hold the interaction button. The Skull is permanently unlocked in your profile. Check the Halo: Campaign Evolved price tracker on PriceRadar to see which verified store currently offers the lowest Steam key offer.
Below are all the missions and how to find skulls during progression.
Pillar of Autumn
You can find three skulls in Pillar of Autumn at the start of the mission.
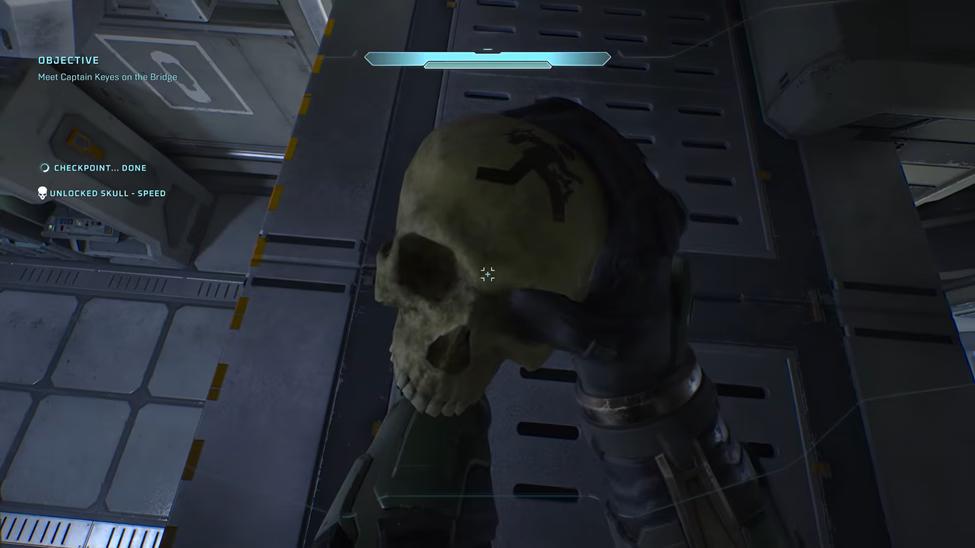
Effect: Increases player movement speed
- Exit your cryo pod and turn toward the raised platform above the exit door.
- Move inside the small alcove beside the cryo tanks.
- Jump onto the stacked containers leading upward.
- Climb onto the overhead maintenance platform.
- Take a few steps ahead to the end of the platform to find the Speed Limit Skull.
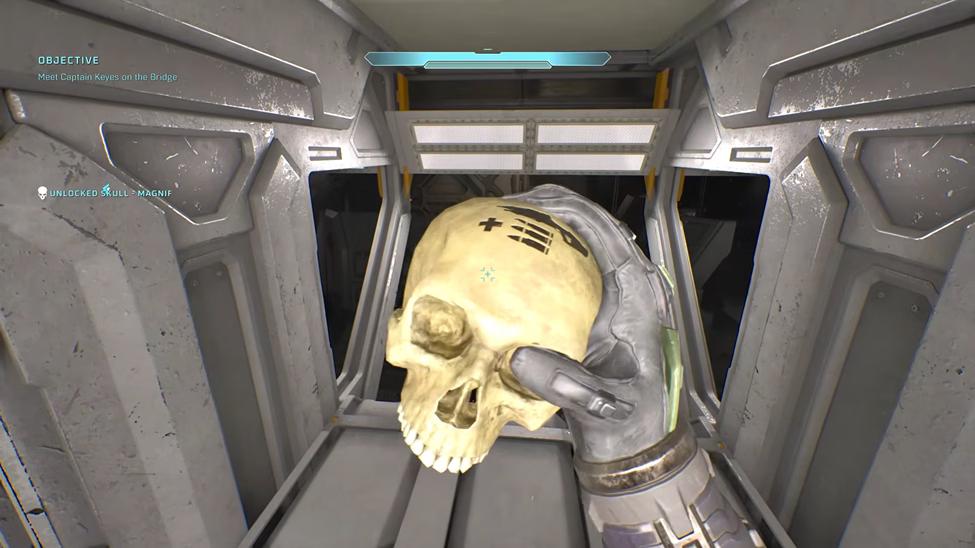
Effect: Magnifies aiming or zoom
- Continue through the mission until you enter the armory filled with weapon racks.
- Once inside, look to the left side of the room.
- Find the weapon rack on the left side and interact with it.
- The Magnified Skull is sitting on top.
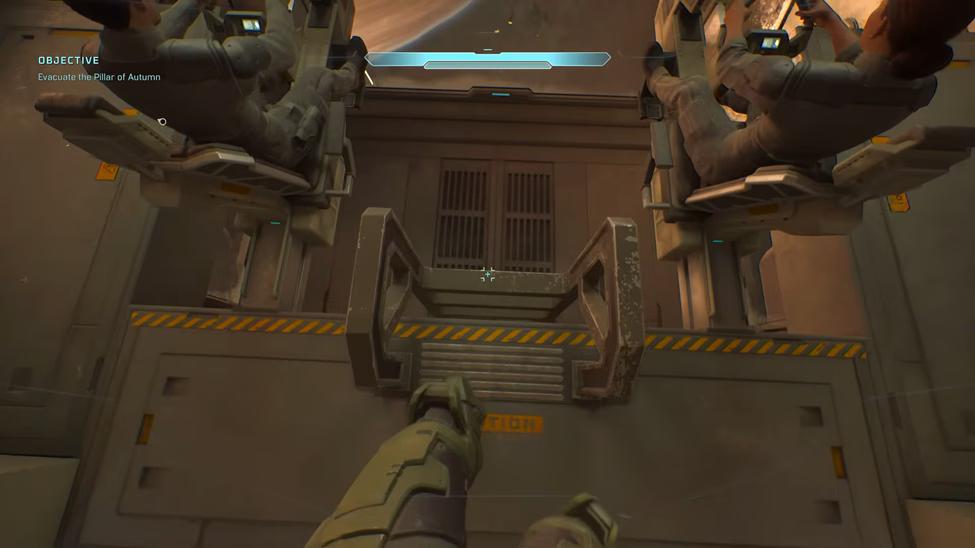
Effect: Lets you play most of the campaign in a third-person camera.
- After the cutscene with Captain Keyes, walk behind him toward the cockpit.
- Find the two pilots at the front of the bridge and look for an opening or ladder beside them.
- Drop into the lower compartment beneath the cockpit and turn around.
- The Perspective Skull is on the floor in the hidden compartment.
Halo
Search each lifeboat rescue area thoroughly before moving on. You must follow the river to explore optional caves.
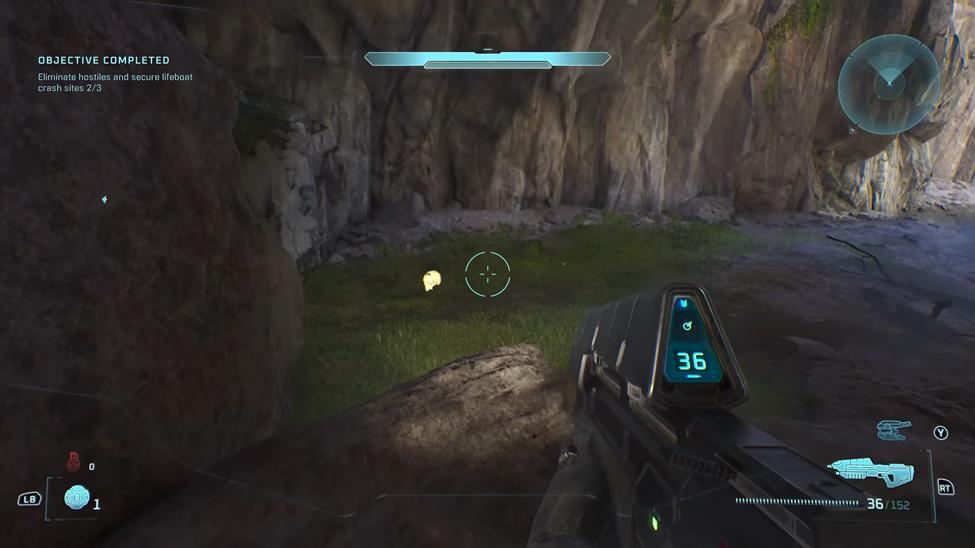
Effect: Firing your weapon drains your shields, while damaging enemies restores them.
- Once you leave the underground tunnel, enter the central valley.
- Find the river flowing through the middle of the area.
- Follow the river downstream until it enters a small cave.
- Enter the cave and find the Give & Take Skull near the large rocks in the center.
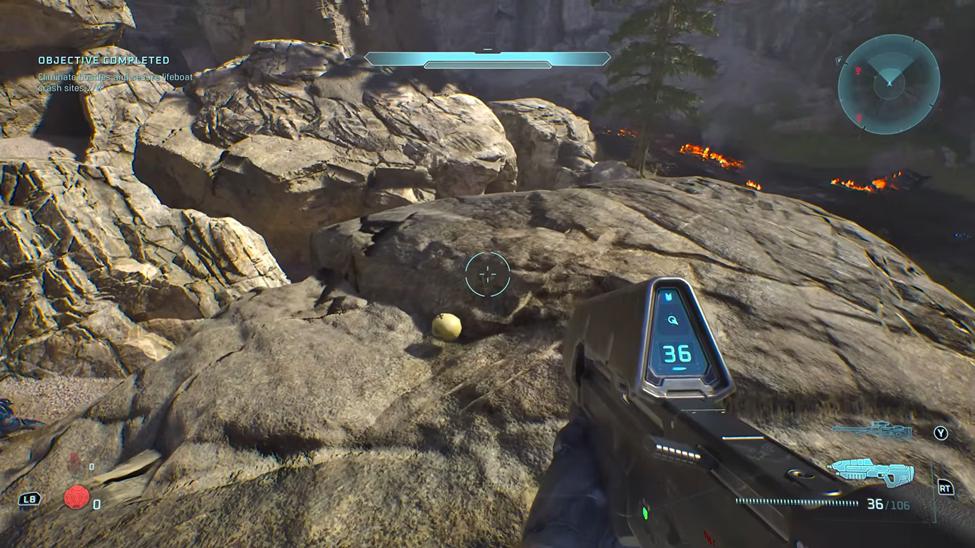
Effect: Standing on the ground causes continuous damage, forcing you to stay on rocks or vehicles.
- Go to the rescue area featuring the large rock formation.
- Stand on the grassy hill in the middle of the area.
- Face the crashed escape pod and look for a smaller rock formation below the hill.
- Jump down onto the rocks to find Floor is Lava Skull on the lower rock ledge.
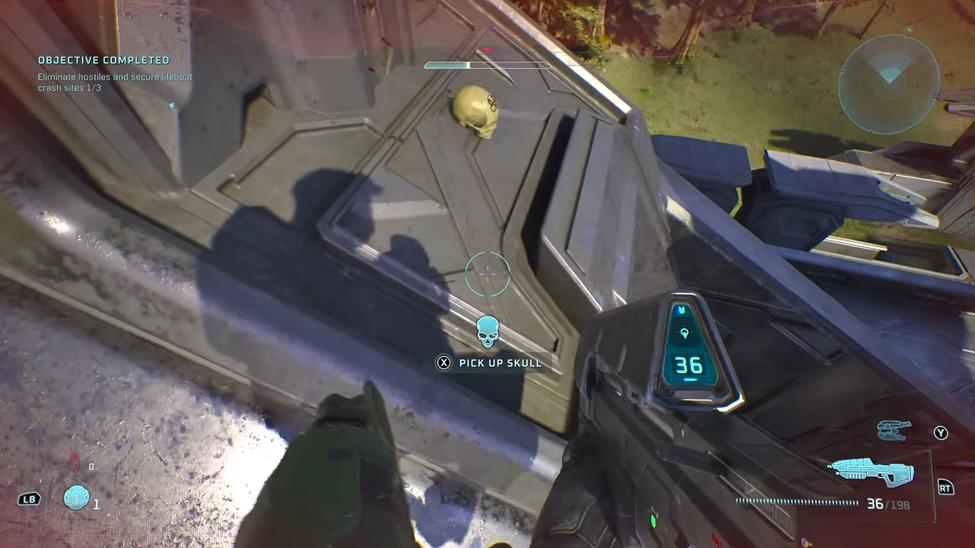
Effect: Grunts explode in powerful explosions when eliminated.
- Go to the Marine lifeboat area near the cliffside and climb onto the main metal spire.
- Reach the highest section and throw a grenade at your feet.
- As it explodes, perform a grenade jump and turn toward the higher section.
- Land on the upper platform and Grunt Funeral Skull from the end.
The Truth and Reconciliation
The Truth and Reconciliation is the third mission in Halo: Campaign Evolved and contains three hidden Skulls.
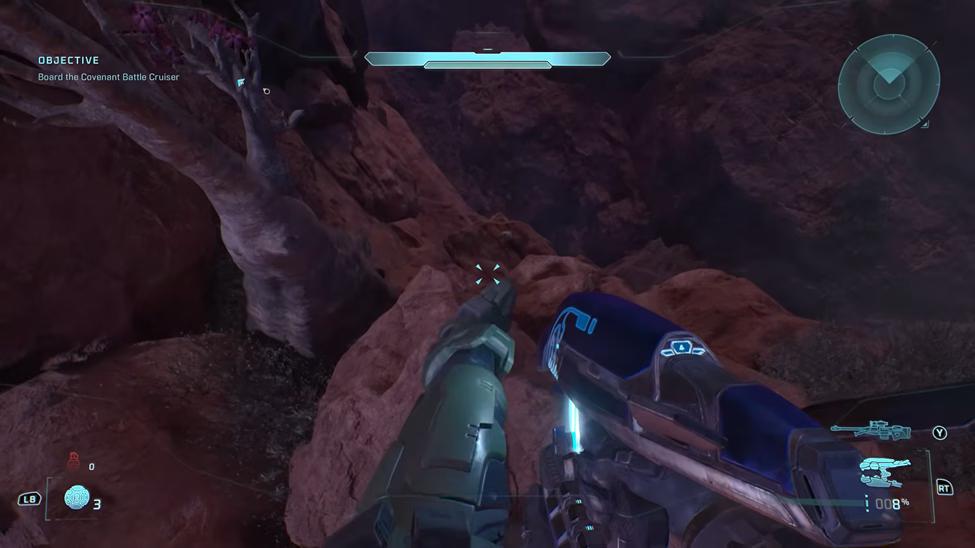
Effect: In solo play, dying restarts the entire mission. In co-op, if any player dies, both players go to the last checkpoint.
- Go to the opposite side of the gravity lift near the cliff edge.
- Look for a spotlight shining on a small cactus.
- Stand on the rock immediately to the right of the light.
- Look over the cliff to spot a narrow ledge below.
- Drop onto the ledge to collect the Iron Skull.
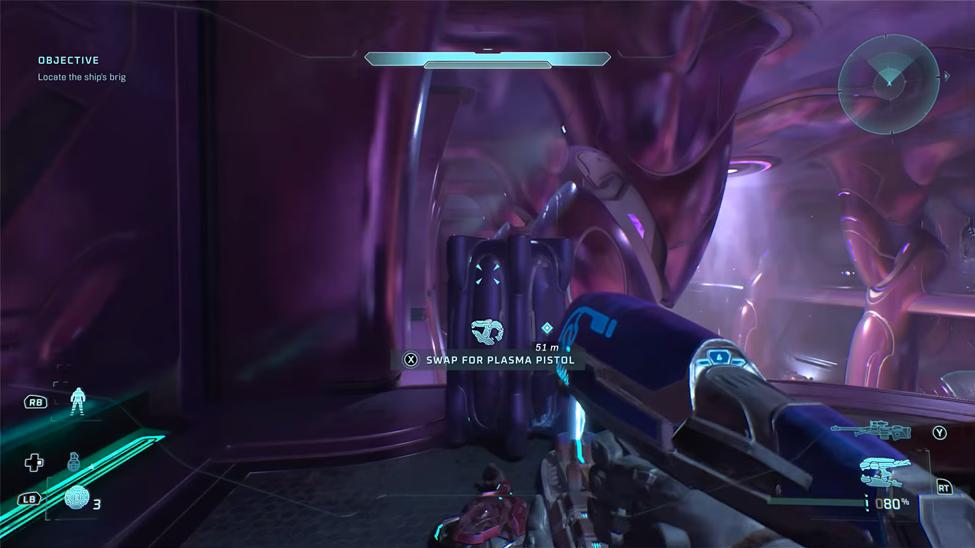
Effect: Improves enemy endurance.
- Enter the cruiser and defend the entry chamber until the Marines open the hangar doors.
- Reach the tall room filled with purple support struts.
- Climb onto the first purple support beam and jump from beam to beam toward the upper section.
- Collect Endurance Spec Skull from the far end of the highest beam.
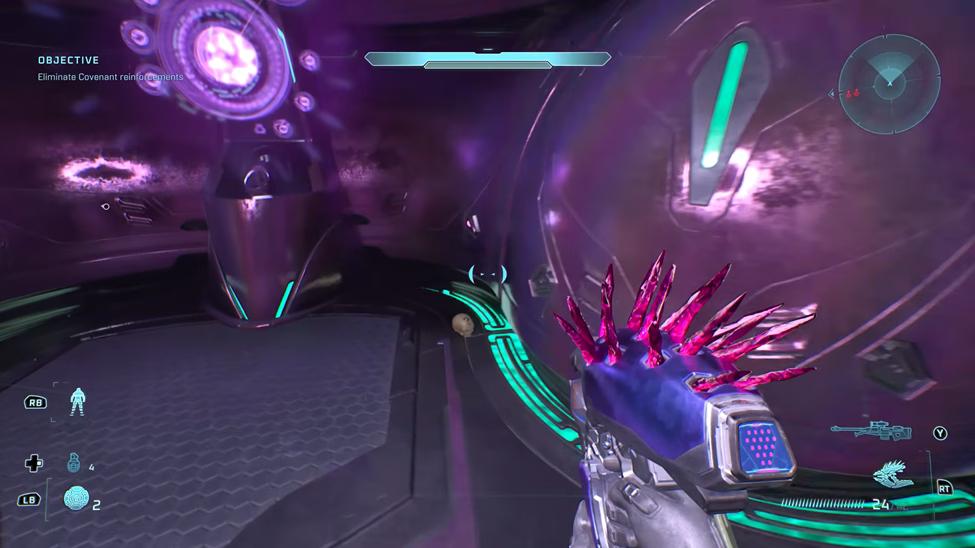
Effect: Players cannot use weapons from another faction.
- Enter the large vehicle bay containing Ghosts and Wraiths.
- Reach the far end of the room and locate a blocked doorway.
- Throw a grenade to destroy or move the debris.
- Walk down the newly opened hallway and look beside the locked door on the left to find the Foreign Skull.
The Silent Cartographer
All three Skulls can be collected during a single playthrough without requiring grenade jumps or special difficulty settings.
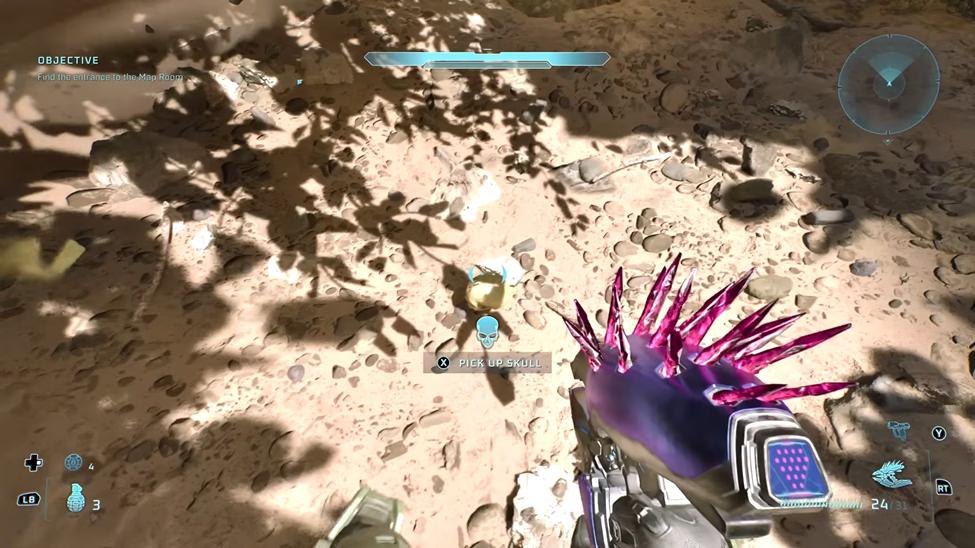
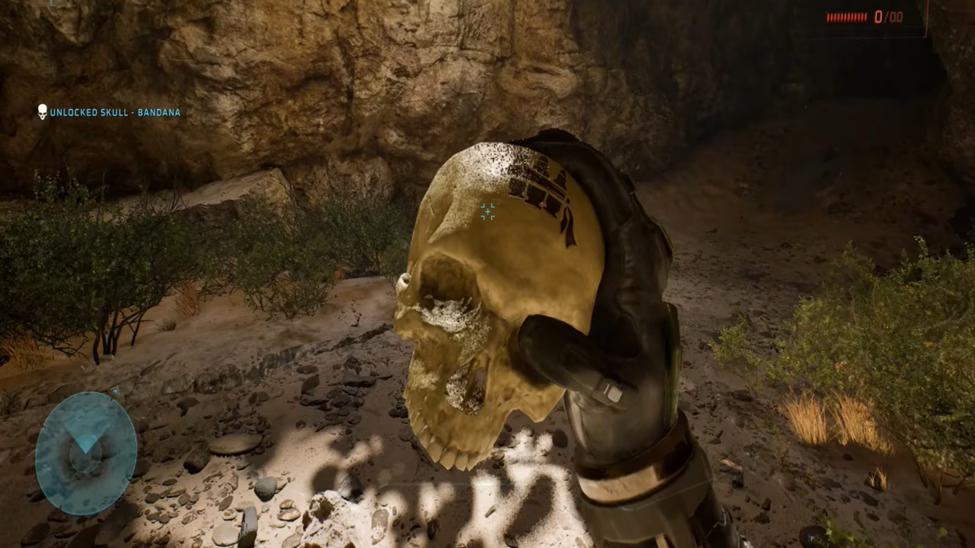
Effect: Grants infinite ammo and grenades.
- Reach the Forerunner structure and continue moving past the entrance.
- Look to the right for a small cave in the rock wall.
- Enter the cave and walk toward the sunlit opening in the middle to collect Bandana Skull from the sand.
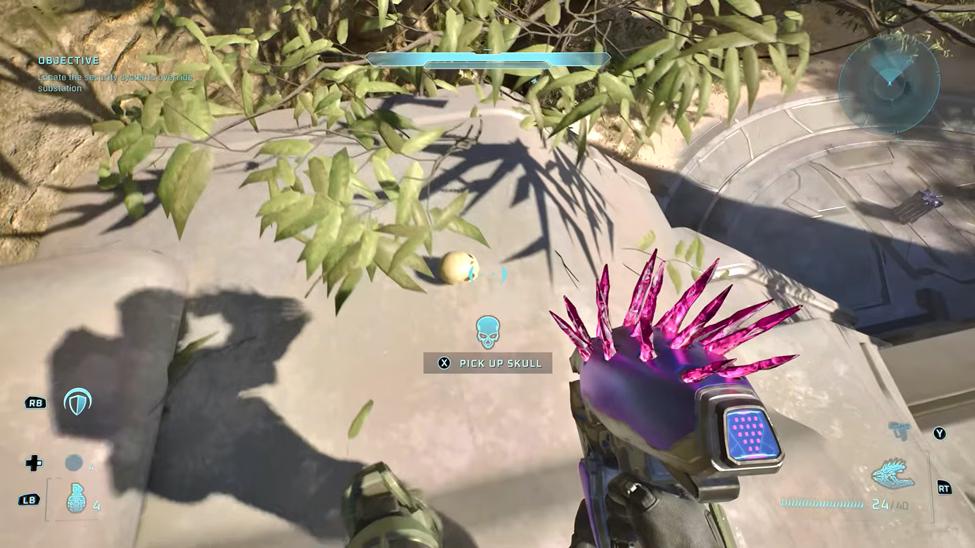
Effect: Holding the jump button allows Master Chief to fly.
- Find the large sloped Forerunner structure.
- Climb the sloping side from the right-hand ledge.
- Continue ascending to get Acrophobia Skull from the top.
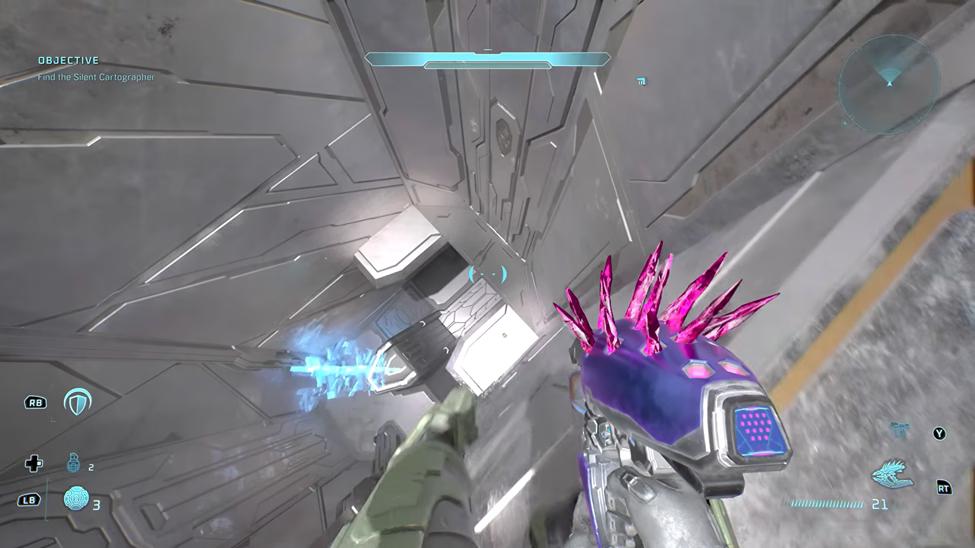
Effect: Disables aiming down sights and weapon zoom.
- Continue to the large chamber with the spiraling ramp.
- Climb to the upper section and look down through the center of the spiral.
- You can find the Skull available on a small ledge about halfway down the shaft.
Assault on the Control Room
Keep the Scorpion tank until you've collected the IWHBYD Skull. Before entering the Control Center, inspect the Forerunner arche for Angry Skull.
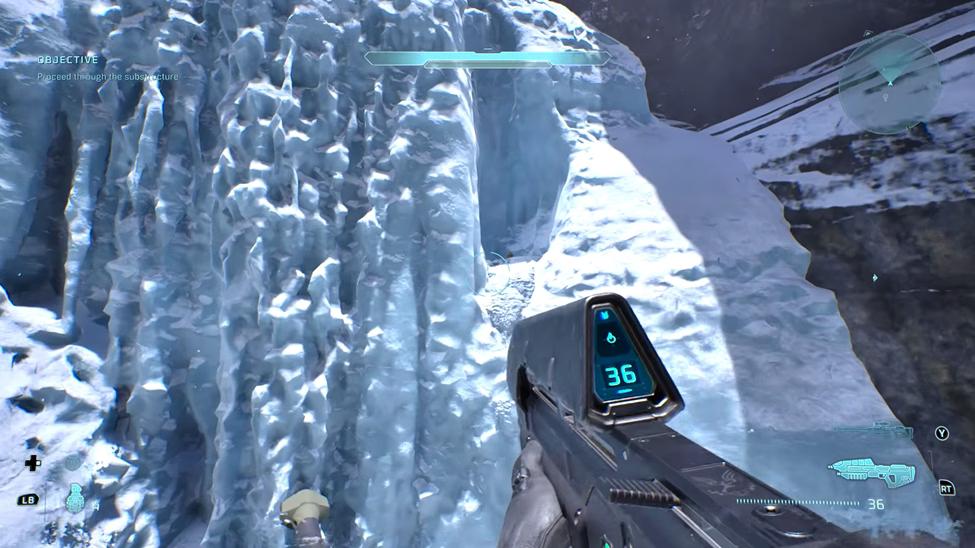
Effect: Increases rare dialogue frequency.
- Small cave in the snowbank after the twin bridges, reached using the Scorpion
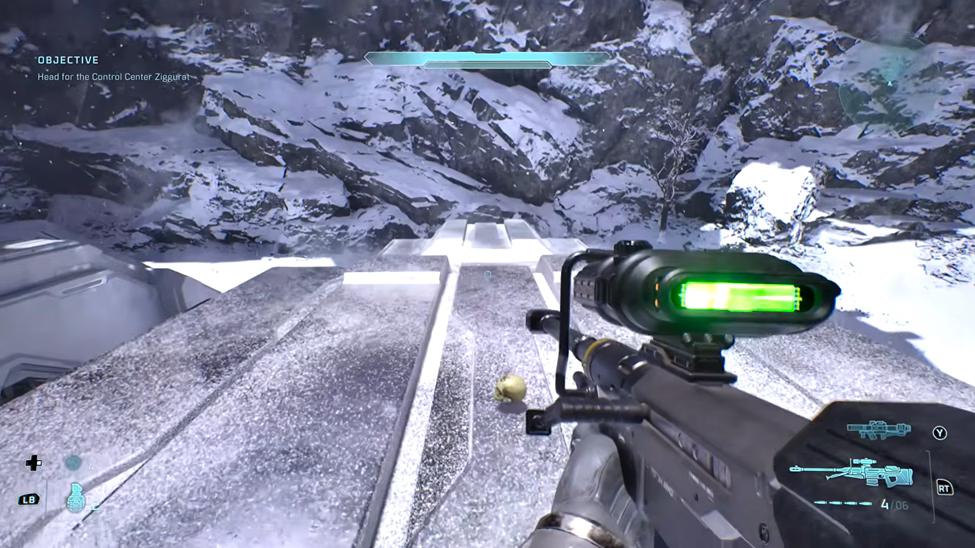
Effect: Enemies attack and fire more aggressively.
- On top of the Forerunner arch/support beam outside the Control Center entrance.
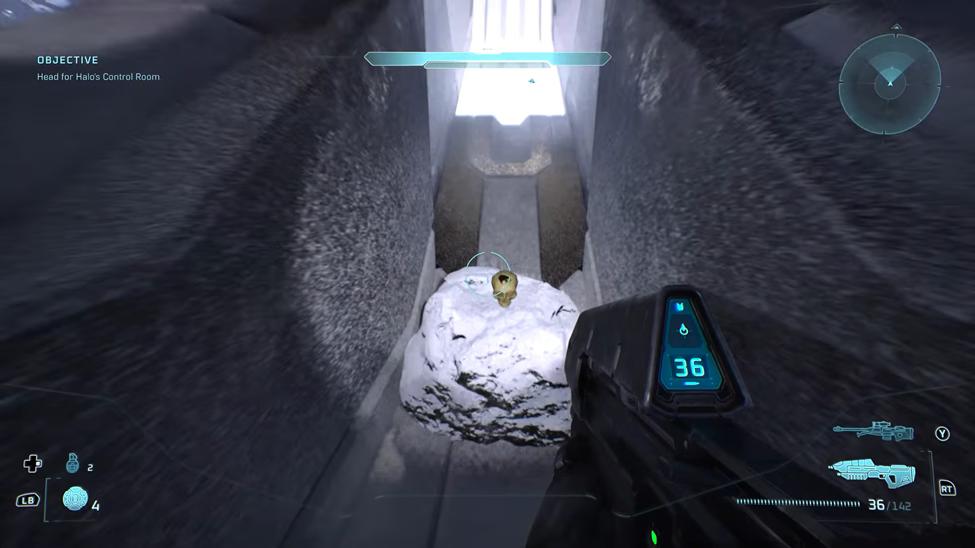
Effect: Greatly increases explosion physics.
- Hidden corridor below the Banshee bridge near the Control Room.
343 Guilty Spark
Search the opening swamp carefully before entering the Forerunner facility. Make sure to loot the Marine after defeating him.
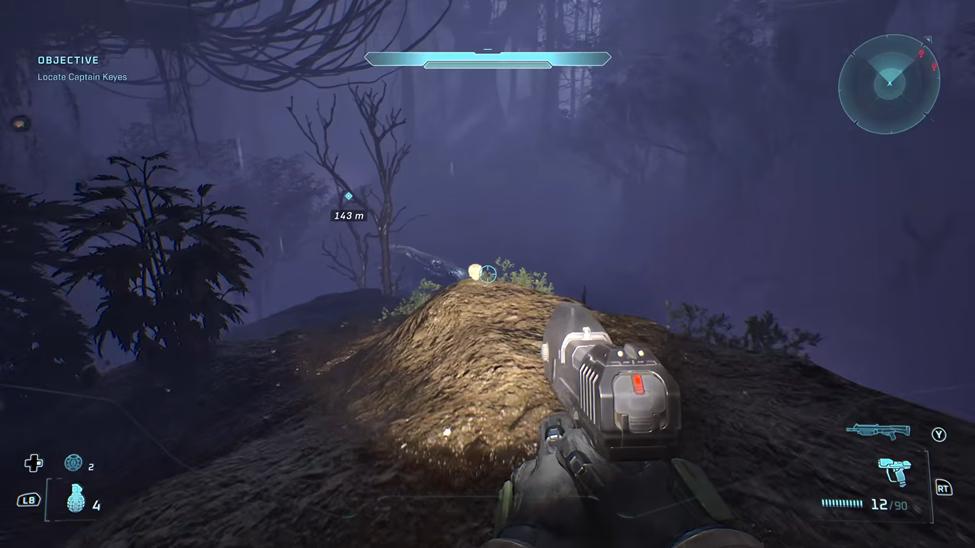
Effect: Disables your motion tracker.
- Continue until you reach a large fallen tree.
- After crossing the log, turn around.
- Climb the rocky slope on the left side and continue till you reach the top overlooking the fallen tree.
- The Fog Skull is available on a rock near the cliff edge.
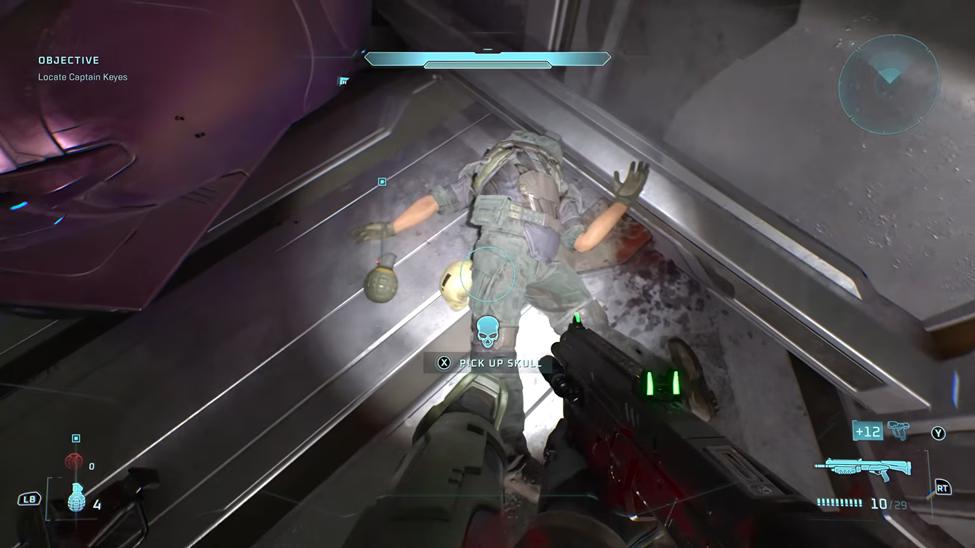
Effect: Greatly increases enemy awareness.
- Encounter a terrified Marine who is shouting that you won't turn him into "one of those things.”
- The Marine becomes hostile and attacks you with a Magnum.
- Defeat him to get That's Just… Wrong Skull.
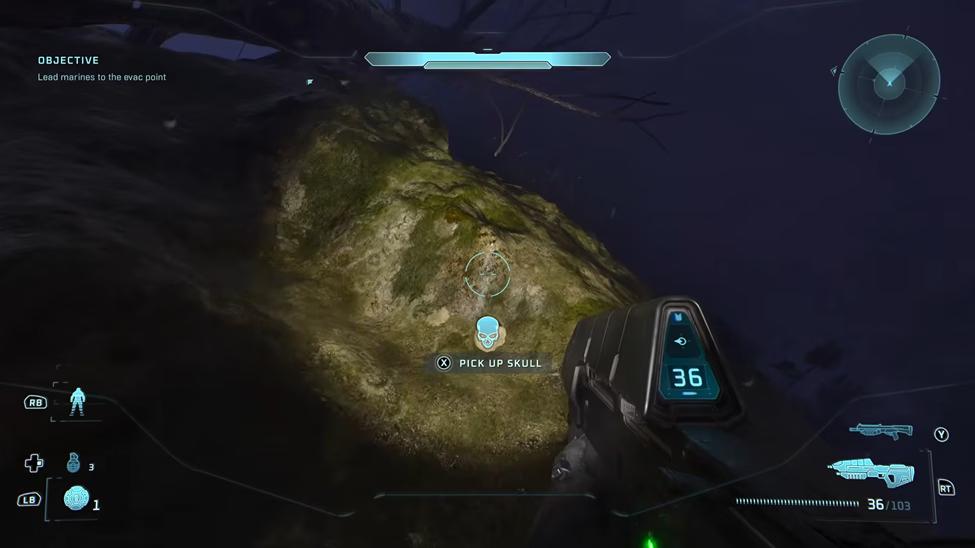
Effect: Makes reanimated Flood more powerful.
- Enter a large Sentinel tower where Flood and Sentinels are fighting.
- Face the tower and turn right.
- Continue along the edge of the area until you find a thin fallen tree.
- Walk up the tree and jump onto the rocks at the top to find They Come Back Skull on the rock ledge.
The Library
Search every ventilation shaft you encounter and clear Flood waves before attempting platforming.
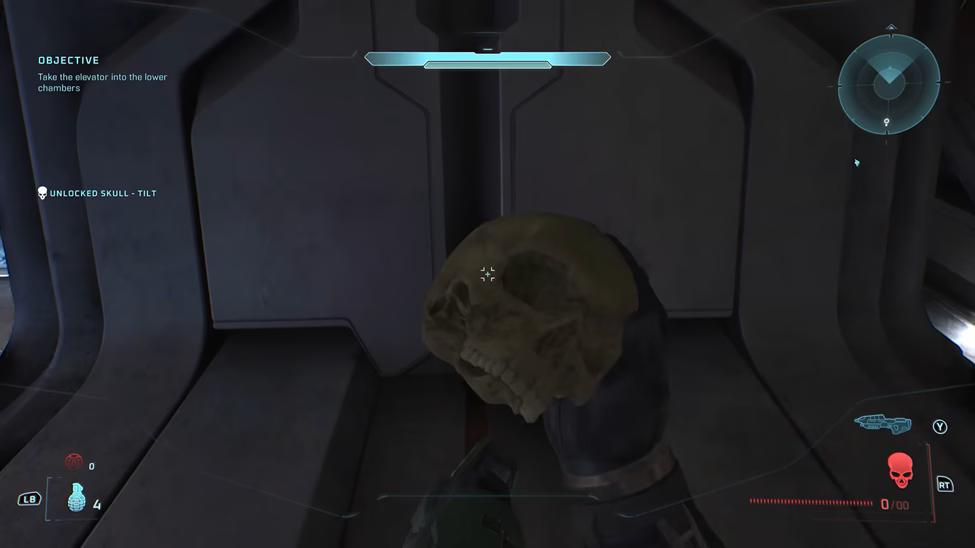
Effect: Enemy energy shields become much more resistant to ballistic weapons.
- Look at the right-hand ventilation shaft.
- Jump into the vent and follow the short duct.
- The Tilt Skull is waiting at the end of the vent.
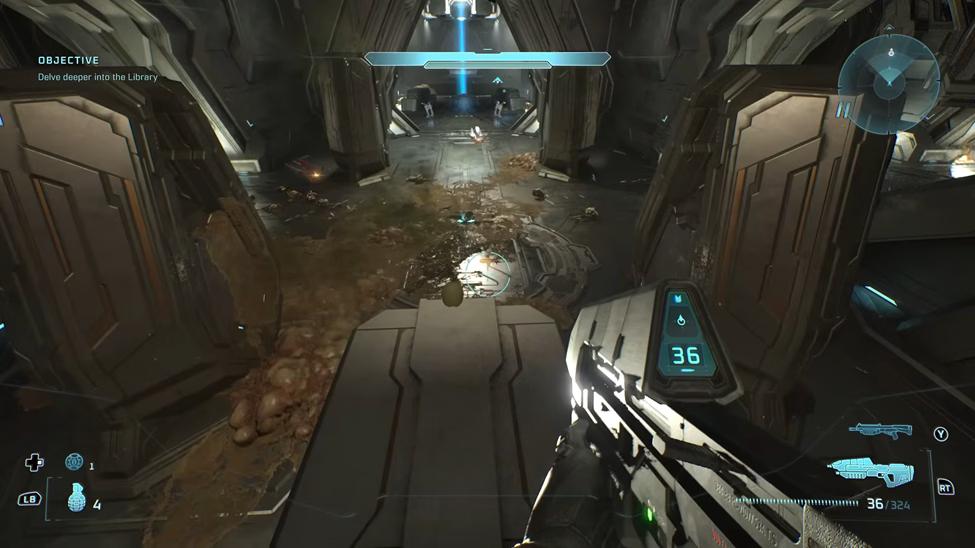
Effect: Increases explosive and physics effects.
- Instead of following Guilty Spark immediately, search the outer balcony.
- Follow the balcony around until you reach a small side platform.
- Collect the Skull from the edge of the platform.
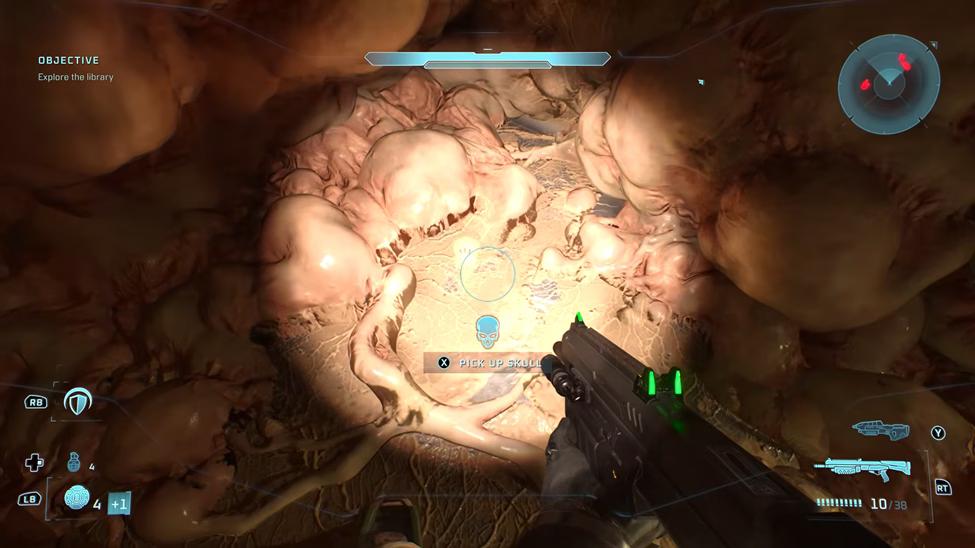
Effect: Enemies drop much less ammo and fewer weapons.
- Continue to the final floor and enter the large circular room.
- Walk around the room's outer edge and look between two large storage crates.
- The Famine Skull is located on the floor between them.
Two Betrayals
This mission revisits Assault on the Control Room in reverse, and two of its Skulls require using a Banshee.
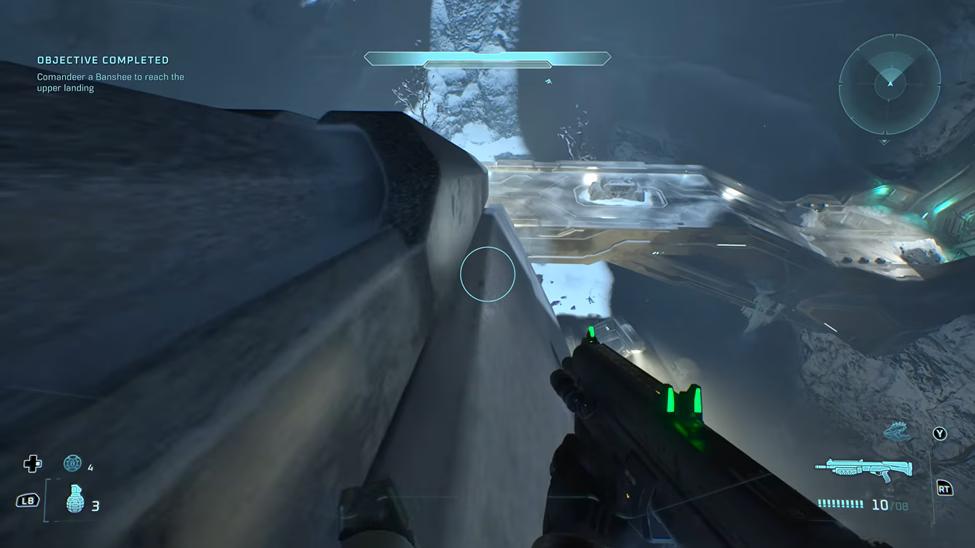
Effect: Enemies become much more evasive.
- Exit the Control Room and reach the outdoor platform with a Banshee.
- Fly upward toward the top of the massive Control Room structure.
- Land carefully on the narrow platform surrounding the beam to collect the Tough Luck Skull.
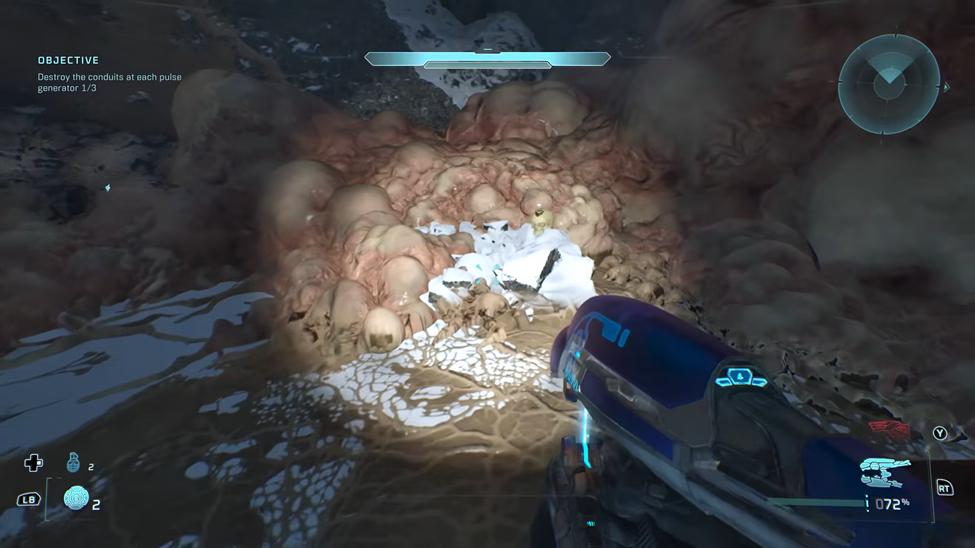
Effect: Shields recharge only after melee attacks.
- Keep descending the elevator into the snowy canyon from Assault on the Control Room.
- Cross the middle arch and turn right to enter a small dead-end area covered with Flood biomass.
- Collect the Black Eye Skull from the snow among the Flood growth.
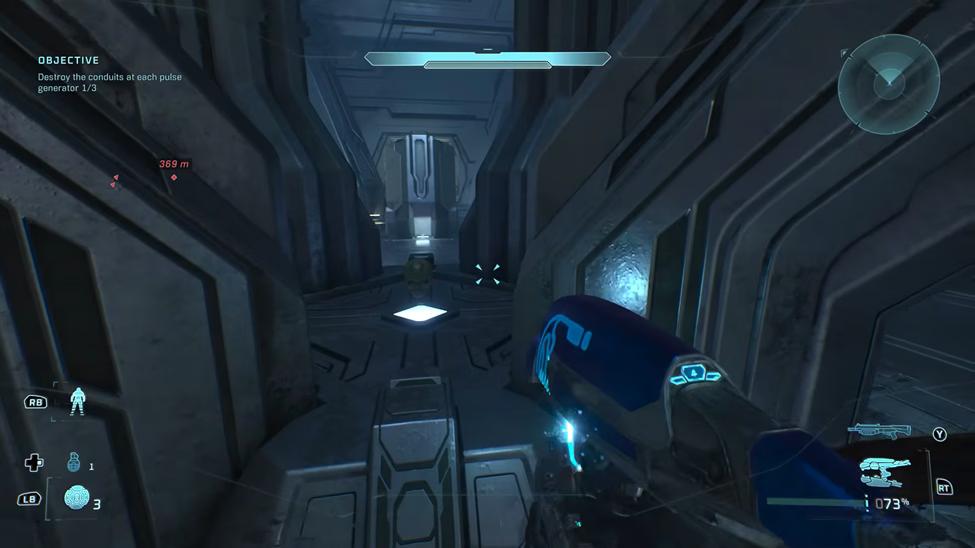
Effect: Greatly increases enemy health.
- Fly another Banshee to a high landing platform with a terminal in the center.
- Activate the terminal and enter the door directly opposite your objective.
- Fight through three consecutive combat rooms.
- After clearing the final room, the Mythic Skull spawns in the center of the room.
Keyes
Use the Active Camouflage and Overshield pickups to help complete the opening speedrun. Carry at least one frag grenade into the cruiser.
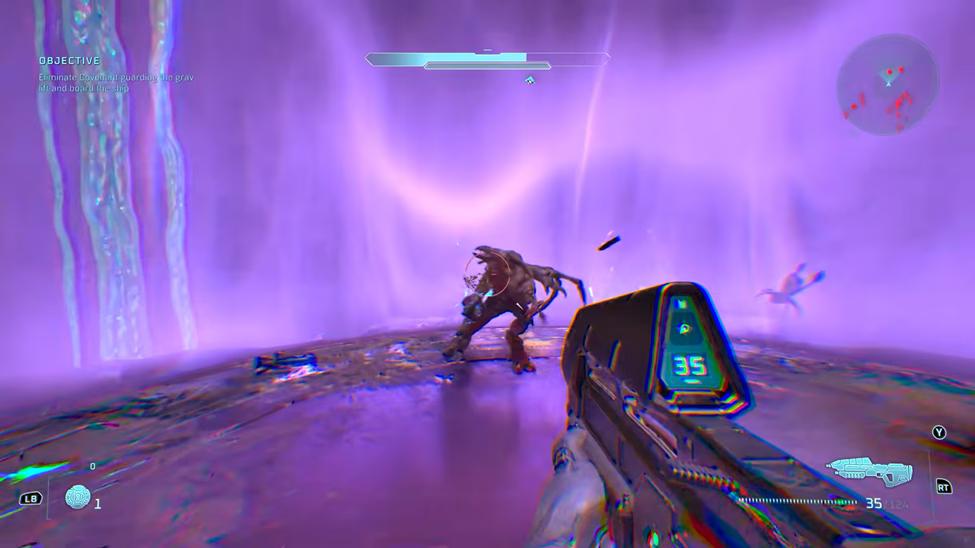
Effect: Covenant enemies throw far more grenades.
- Play on Heroic or Legendary difficulty.
- Continue through the valley filled with Floor and Covenant.
- Pick up an Overshield from the path near the gravity lift.
- Ride the gravity lift and hold the interact button while ascending to get the Catch Skull.
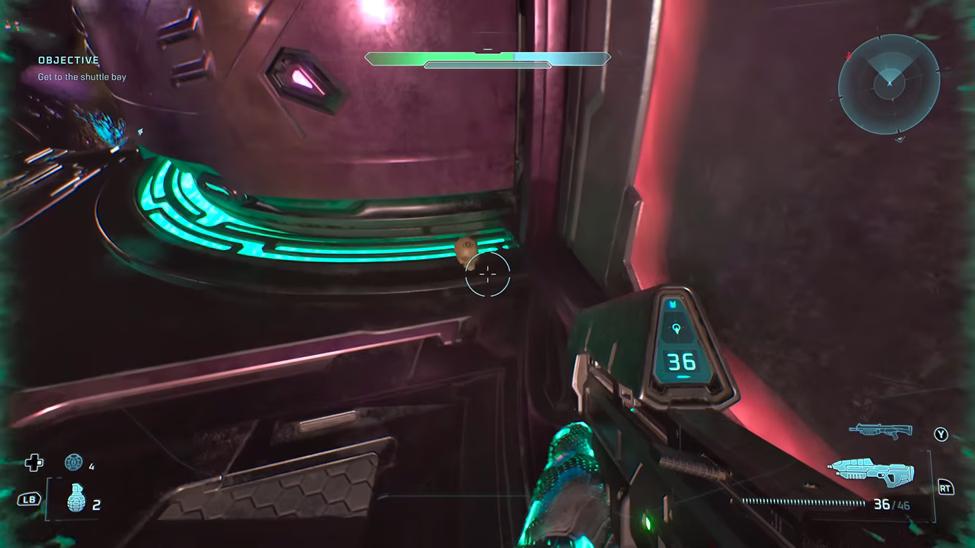
Effect: Removes the HUD and weapon display.
- Progress until you reach the large vehicle bay.
- Drop to the lower floor and find the doorway blocked by a destroyed Wraith.
- Throw a grenade to clear the debris and pass through the corridor to get Blind Skull.
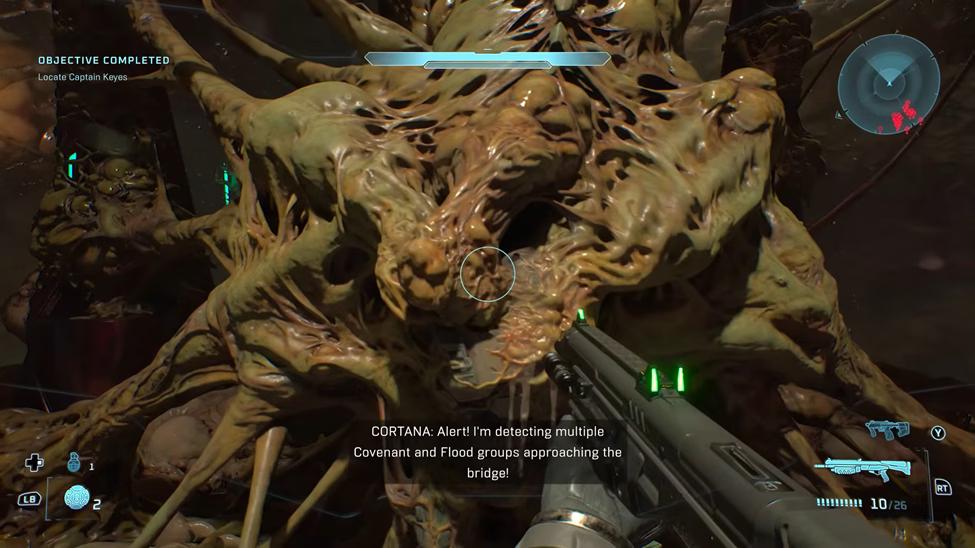
Effect: Enemies drop extra grenades when eliminated.
- Watch the cutscene where Keyes is absorbed into the Flood biomass.
- Turn around toward Keyes' body and melee the Flood growth.
- The Pinata Skull drops onto the floor.
The Maw
Collect Stowed Reload while passing through the cryo bay. All three skulls can be collected during a single playthrough.
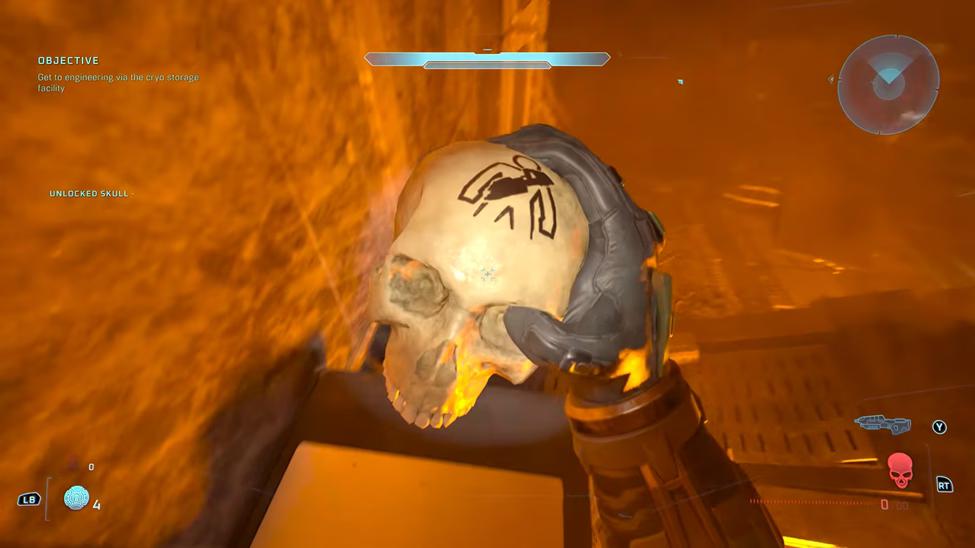
Effect: Your stowed weapon automatically reloads over time.
- Stowed Reload is located on the back-left corner of the cryo chamber on a small pillar.
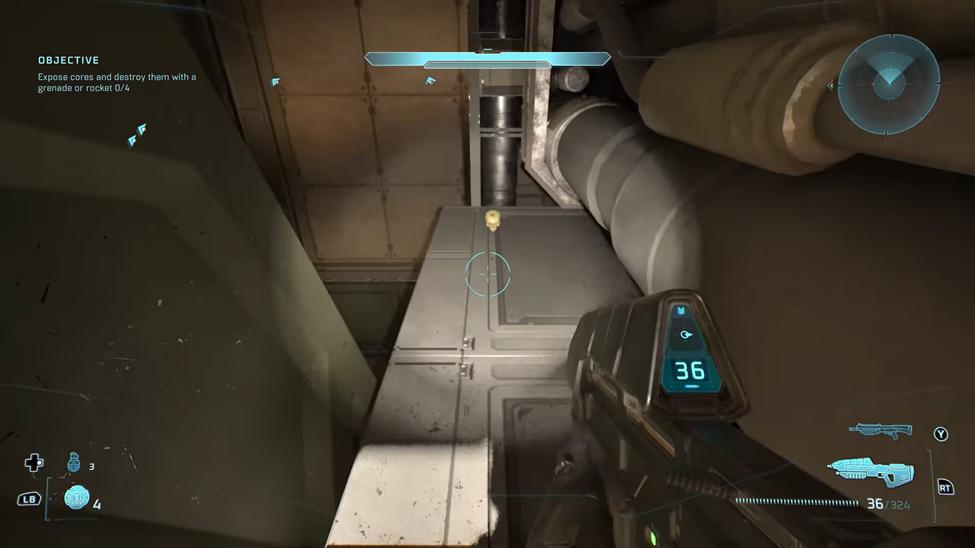
Effect: Doubles the blast radius of every explosion.
- Narrow ledge in the engine room above the fusion vents.
Effect: Upgrades the rank of most enemies.
- Thunderstorm is located at the center of the second shortcut tunnel during the Warthog run.
Boarding Action
The first is an easy detour after the Hunter fight, the second is hidden high above an Elite training arena, and the third is tucked away in a side corridor near the mission's final gravity lift.
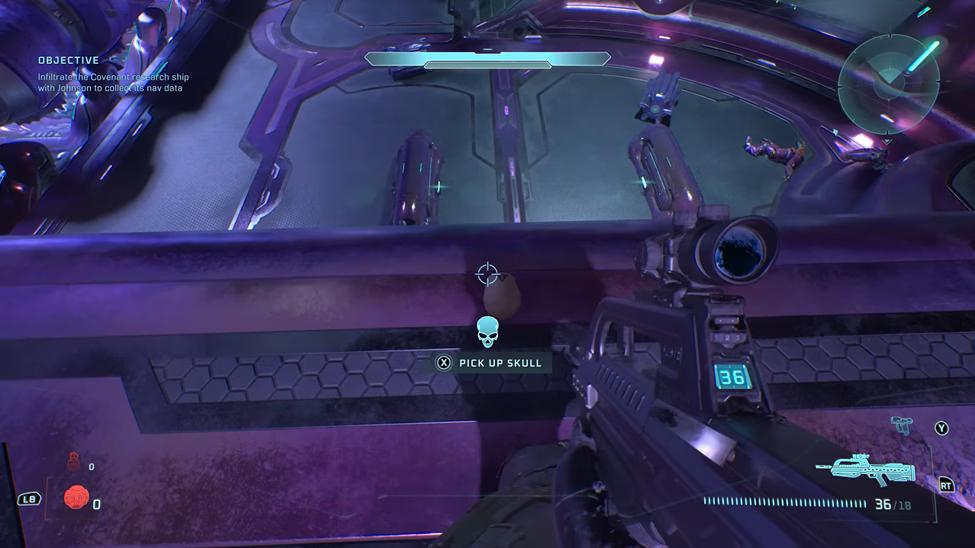
Effect: Each time you respawn, a random HUD element disappears.
- Walkway overlooking the starting hangar after the two-Hunter fight.
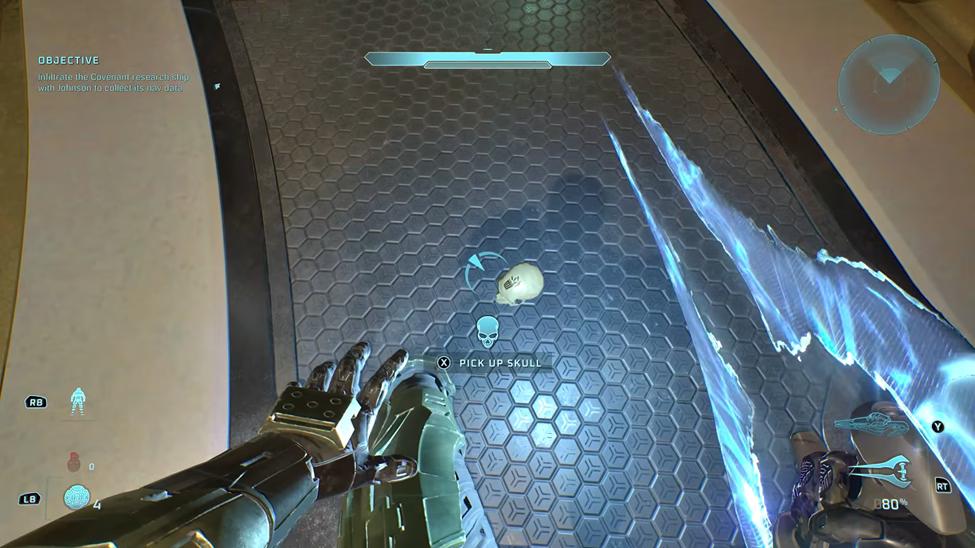
Effect: Reloading discards any ammunition left in the current magazine.
- Curved upper overlook in the Elite training arena.
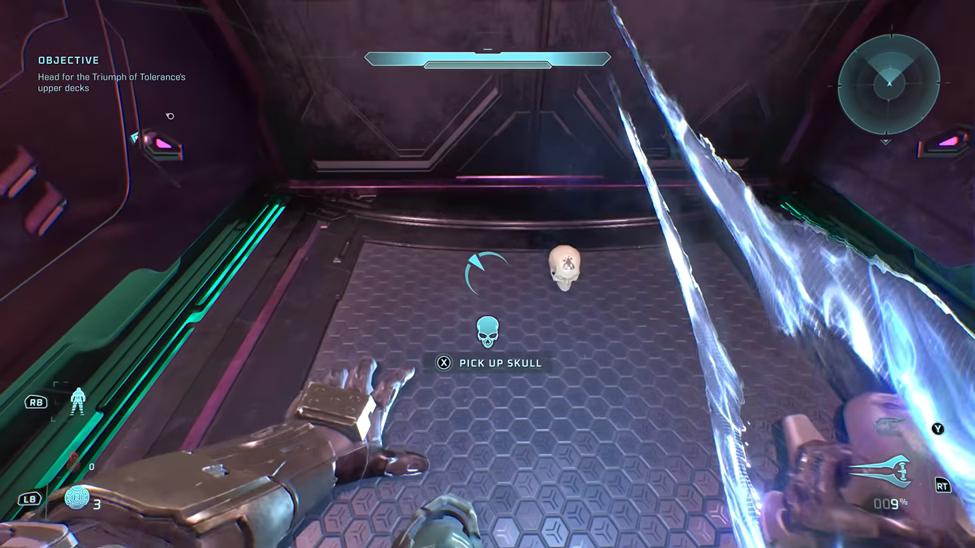
Effect: Reduces the effectiveness of precision headshots.
- End of the left-side corridor off the final gravity lift arena.
The Most Dangerous Game
The Temperamental Skull is unique because it only appears after completing a special objective involving three Golden Elites. The other two are hidden in optional areas.
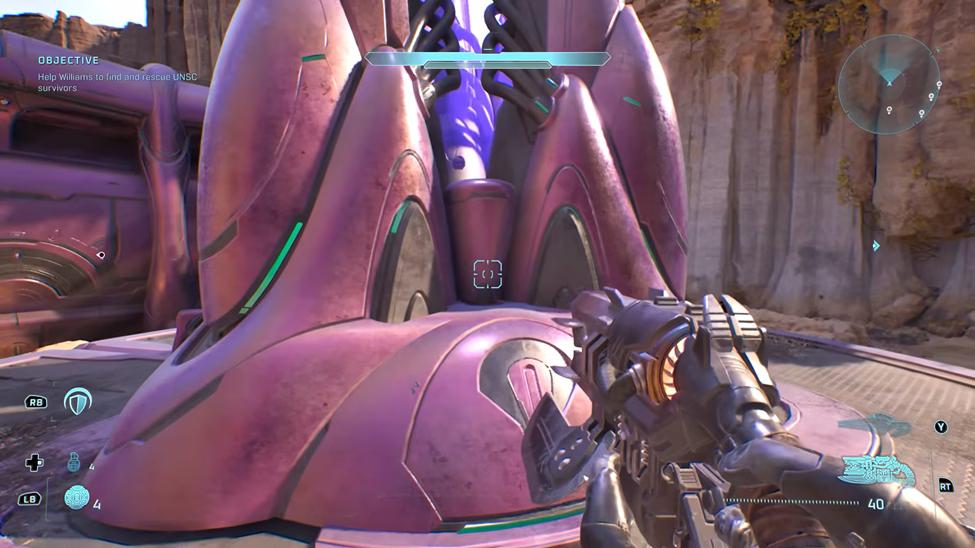
Effect: Changes enemy shield behavior.
- After successfully breaking all three shields of elites, continue to the central podium later in the level.
- The Temperamental Skull will have spawned in the middle of the platform.
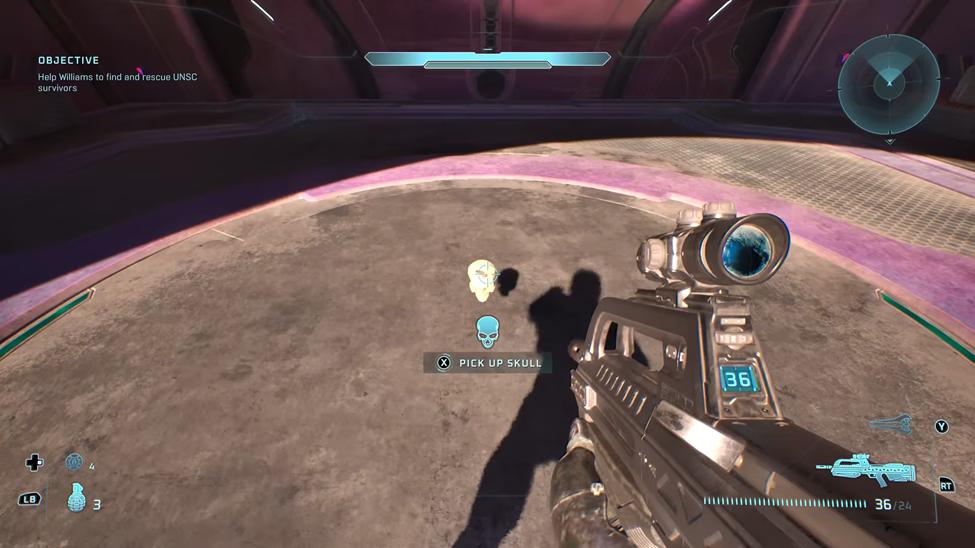
Effect: Reduces the amount of ammunition available.
- Reach the Covenant base with a Wraith guarding a bridge.
- Turn around and look toward the doorway behind you.
- Explode the fuel barrels hidden inside both torches to open a secret doorway.
- Walk inside to collect the Recession Skull.
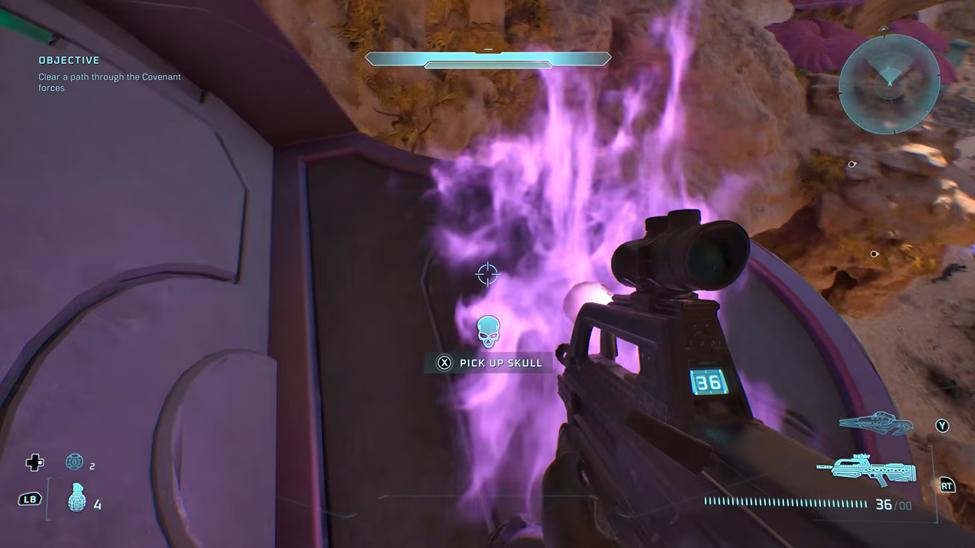
Effect: Changes enemy perception and engagement.
- Enter the area with several Needle Rifle Elites.
- Look above the doorway on the left to find Ghost Skull resting on top of the left torch structure.
Heavy Burden
Two skulls are found while exploring the Pillar of Autumn, and the last is hidden during the mission's gondola section.
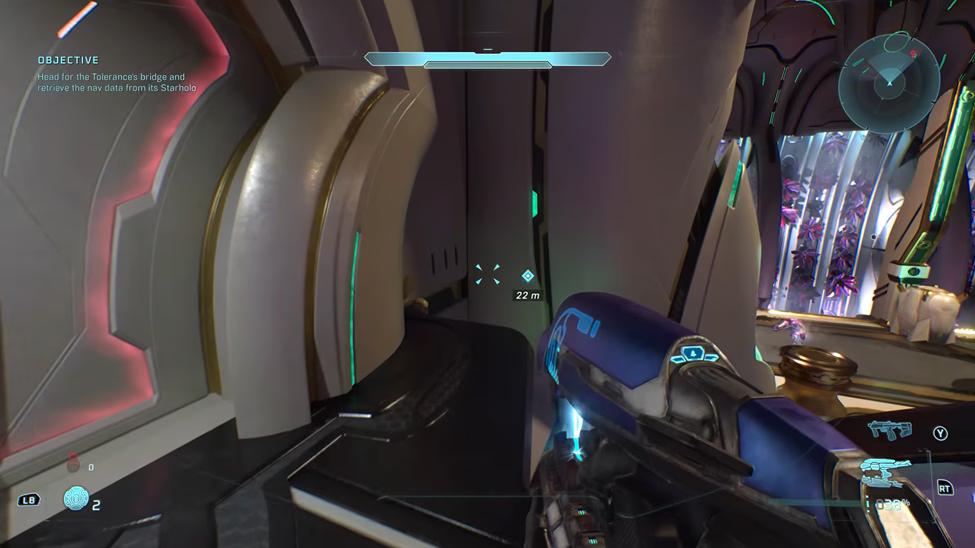
Effect: Disables auto-aim on all weapons.
- Side corridor beside the suspended bridge, next to a locked door.
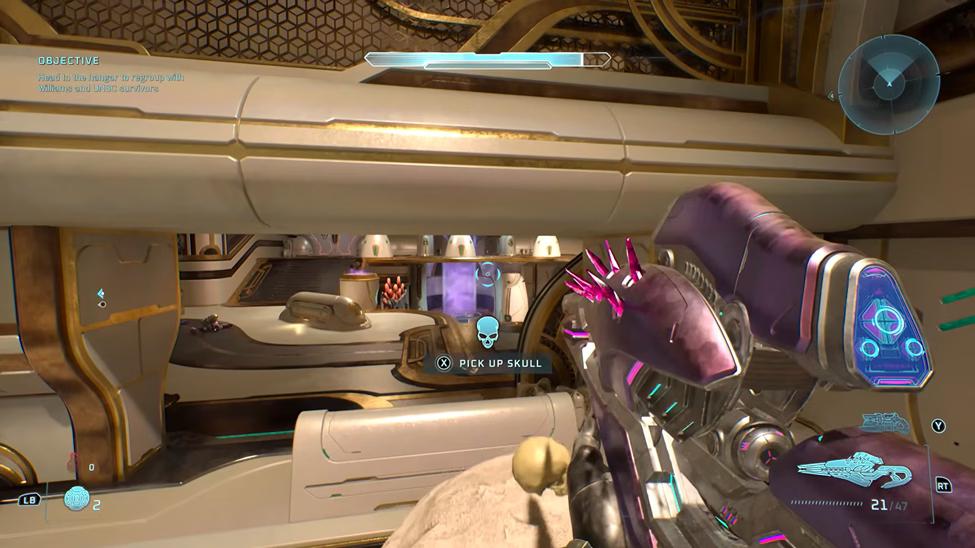
Effect: Headshot Grunts create confetti explosions.
- Top of the central rock formation in the multi-level plant room.
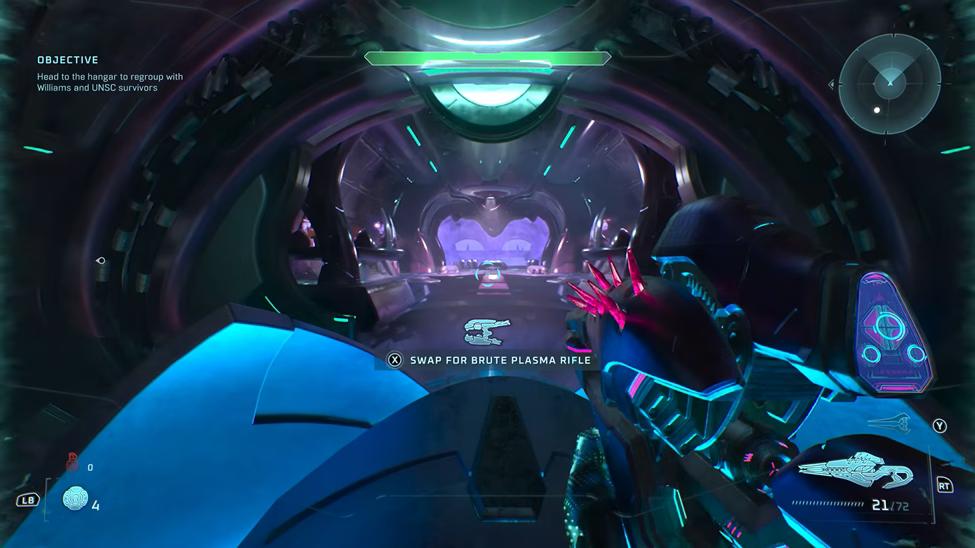
Effect: Enemies drop extra ammunition when defeated while you're at full health.
- Back-right corner of the left out-of-bounds platform after the gondola power restart.
Conclusion
Once you find and collect a Skull in Halo: Campaign Evolved, it is permanently added to your profile. Some Skulls make the game significantly harder, while others add fun effects or useful gameplay perks. They are hidden in places like caves, under bridges, inside vents, and optional side paths. A whispering or eerie sound that becomes audible when you're close. Collecting the required set of 17 specific Skulls unlocks the game's official LASO. Compare the current Halo: Campaign Evolved price history on PriceRadar first – verified key stores regularly list it well below the $49.99 official price.
Games Mentioned

Related Articles
Halo: Campaign Evolved: All Terminals and Where To Find Them
guides
Halo: Campaign Evolved Game Review: Should You Buy It Now
guides
Dark Souls II vs Dark Souls III: What Changed Between the Two Games?
guides
Dark Souls III vs Lies of P: What Makes Their Boss Fights Different?
guides